


Characters
Letters, Numbers and Asterix's
SparkiDuino
Easy
Lessons You Should Know

Characters variable values can be equal to almost any single letter, number or punctuation mark you can type with your keyboard and some special characters that you probably can’t even make using your keyboard!
Here’s what we’ll be covering on this page:
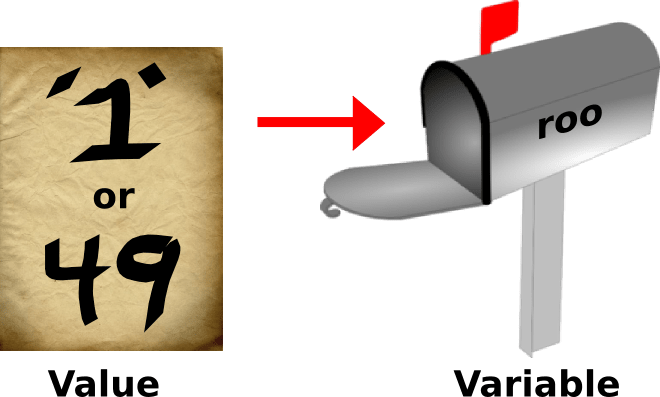
 If you want to store a number or punctuation mark you’ll assign the value the same way. Make sure you always use the single quotation marks since the number 1 without the single quotes is actually a frowny face! (We’ll get into that in a moment.) Here are a couple examples-
 The second way to store a character value in a character variable is to use a number without any quotation marks. This way you can get those interesting characters like the smiley faces and musical notes. Here are a couple examples of assigning character values using numbers-
 Just like you did with with all the other variable types you can declare and assign character variables with a single line of code-
Let’s go over these three commands quickly so that you feel comfortable with all the code we are using.
 Something very strange happens when the character gets up to an ASCII value of 127, doesn’t it? That’s where our chart ends, so we might expect something to happen, but the ASCII value switches to -128 instead of 128 and starts count towards zero in the negatives! You may also notice that the characters being displayed are no longer very interesting. They’re sort of blobs or random dots for the most part. So what happened?
 What happened is that once a variable gets to the upper limits of its memory space (the physical space on a chip that holds the variable) it wraps around to the very lowest possible value for the variable. In this case there are 128 negative values for a character, but there are no cool characters stored in these spaces so we get a bunch of junk. Weird, huh?
 You can even try multiplying characters. Don’t worry about going above an ASCII value of 127, remember it will just wrap around into the negatives if that happens.
What about dividing? Since characters are based on integers when you divide you’ll never have to worry about winding up with a decimal value that doesn’t correspond to a character. So yeah, go ahead and try it!
You can even try multiplying characters. Don’t worry about going above an ASCII value of 127, remember it will just wrap around into the negatives if that happens.
What about dividing? Since characters are based on integers when you divide you’ll never have to worry about winding up with a decimal value that doesn’t correspond to a character. So yeah, go ahead and try it!
- ASCII Values
- Declaring a Character
- Assigning a Character
- Displaying Characters
- Doing Math with Characters
ASCII Values
ASCII stands for American Standard Code for Information Interchange. Inside of Sparki’s little robotic brain all the characters get converted to the ASCII value when Sparki is doing any calculations or actions with a character. That explains why you can get the value ‘a’ by creating a character variable with the value ‘a’ or 97. Check out the chart below to get comfortable with characters before we move on.
For Sparki, characters are useful when printing text out on the LCD screen or over a Serial port.
Declaring a Character Variable
You create a character variable by declaring it using char (almost exactly like an integer or float):|
1 |
char roo; |

This will create a variable named “roo.” The type of this variable will be a character. Since you didn’t give the variable a value when you first created it the value of the variable is automatically ‘null’. Null is a special character that means empty. The ASCII value of ‘null’ is 0.

Assigning Values (Putting Information in the Character Variables)
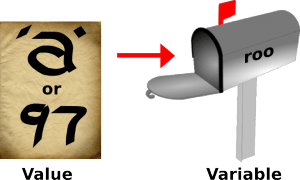
There are two different ways you can assign values to a character variable. One way uses the letters, numbers and punctuation marks that you will see on Sparki’s LCD screen, other uses the ASII values that you can find in the chart above. Here’s how you assign a value to a character variable using the first method. Notice how the ‘a’ is wrapped in single-quotes.That’s important. Double quotes do not mean a single character, they indicate a sentence or word. I’m sure you’re also familiar with the semicolon by now, it’s our ever present friend that tells Sparki the line of code is finished and ready for action.|
1 |
roo = 'a'; // storing the letter 'a' in the character variable roo |
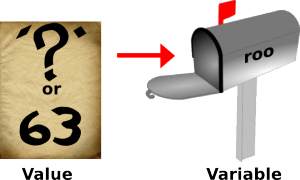
 If you want to store a number or punctuation mark you’ll assign the value the same way. Make sure you always use the single quotation marks since the number 1 without the single quotes is actually a frowny face! (We’ll get into that in a moment.) Here are a couple examples-
|
1 |
roo = '1'; // storing the number '1' in the character variable roo |
|
1 |
roo = '?'; // storing a question mark in the character variable roo |
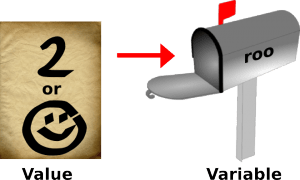
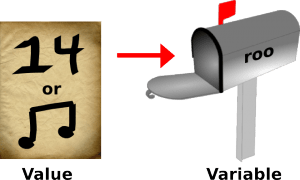
The second way to store a character value in a character variable is to use a number without any quotation marks. This way you can get those interesting characters like the smiley faces and musical notes. Here are a couple examples of assigning character values using numbers-
|
1 |
roo = 2; // storing a smiley face in the character variable roo |
|
1 |
roo = 14; // storing a musical note in the character variable roo |
Just like you did with with all the other variable types you can declare and assign character variables with a single line of code-
|
1 |
char roo = 3; // declaring the character variable roo and storing a heart |

Displaying the Character Variables
So now that you know how to create character variables and assign them values let’s learn how to use them with Sparki! You’ll learn later how to use characters during communication but for now we’re going to make them show up on the LCD screen. This is useful for sending messages, displaying data or just having fun. However, before we can display the characters on screen we’ll need to write a couple commands to make the LCD screen work.|
1 2 3 4 5 6 7 8 9 |
void loop() { sparki.clearLCD(); // erase the LCD // our character code will go here sparki.updateLCD(); // put what has been drawn onto the screen delay(1000); // wait 1 seconds (1000 milliseconds) } |
- The sparki.clearLCD( ) command tells Sparki to clear the LCD. If we didn’t use this command then the characters that were drawn on the screen before would stay there and as more and more characters got drawn on the screen it would become harder and harder to see the new characters since they would be muddled together with all the other previous characters.
- The sparki.updateLCD( ) tells Sparki to put whatever code that was printed to the LCD on the screen. This is the line of code that actually makes the characters visible. Any print commands that we use to try and display characters after this command will never show up on the LCD.
- delay(1000) tells Sparki to wait 1000 milliseconds (or one second) before continuing with the code. The reason this line of code is in our program is because if we were displaying different data each time through loop then the characters displayed on Sparki’s LCD would go by so quickly we wouldn’t even be able to see them!
|
1 2 3 4 5 6 7 8 9 10 11 12 13 14 15 16 17 |
#include <Sparki.h> // include the sparki library char glop = 0; // character variable void setup() { } void loop() { sparki.clearLCD(); // erase the LCD sparki.println(glop); // display character sparki.println(int(glop)) // display ASCII value sparki.updateLCD(); // put what has been drawn onto the screen delay(1000); // wait 1 seconds (1000 milliseconds) } |

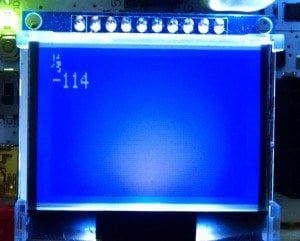
 Something very strange happens when the character gets up to an ASCII value of 127, doesn’t it? That’s where our chart ends, so we might expect something to happen, but the ASCII value switches to -128 instead of 128 and starts count towards zero in the negatives! You may also notice that the characters being displayed are no longer very interesting. They’re sort of blobs or random dots for the most part. So what happened?
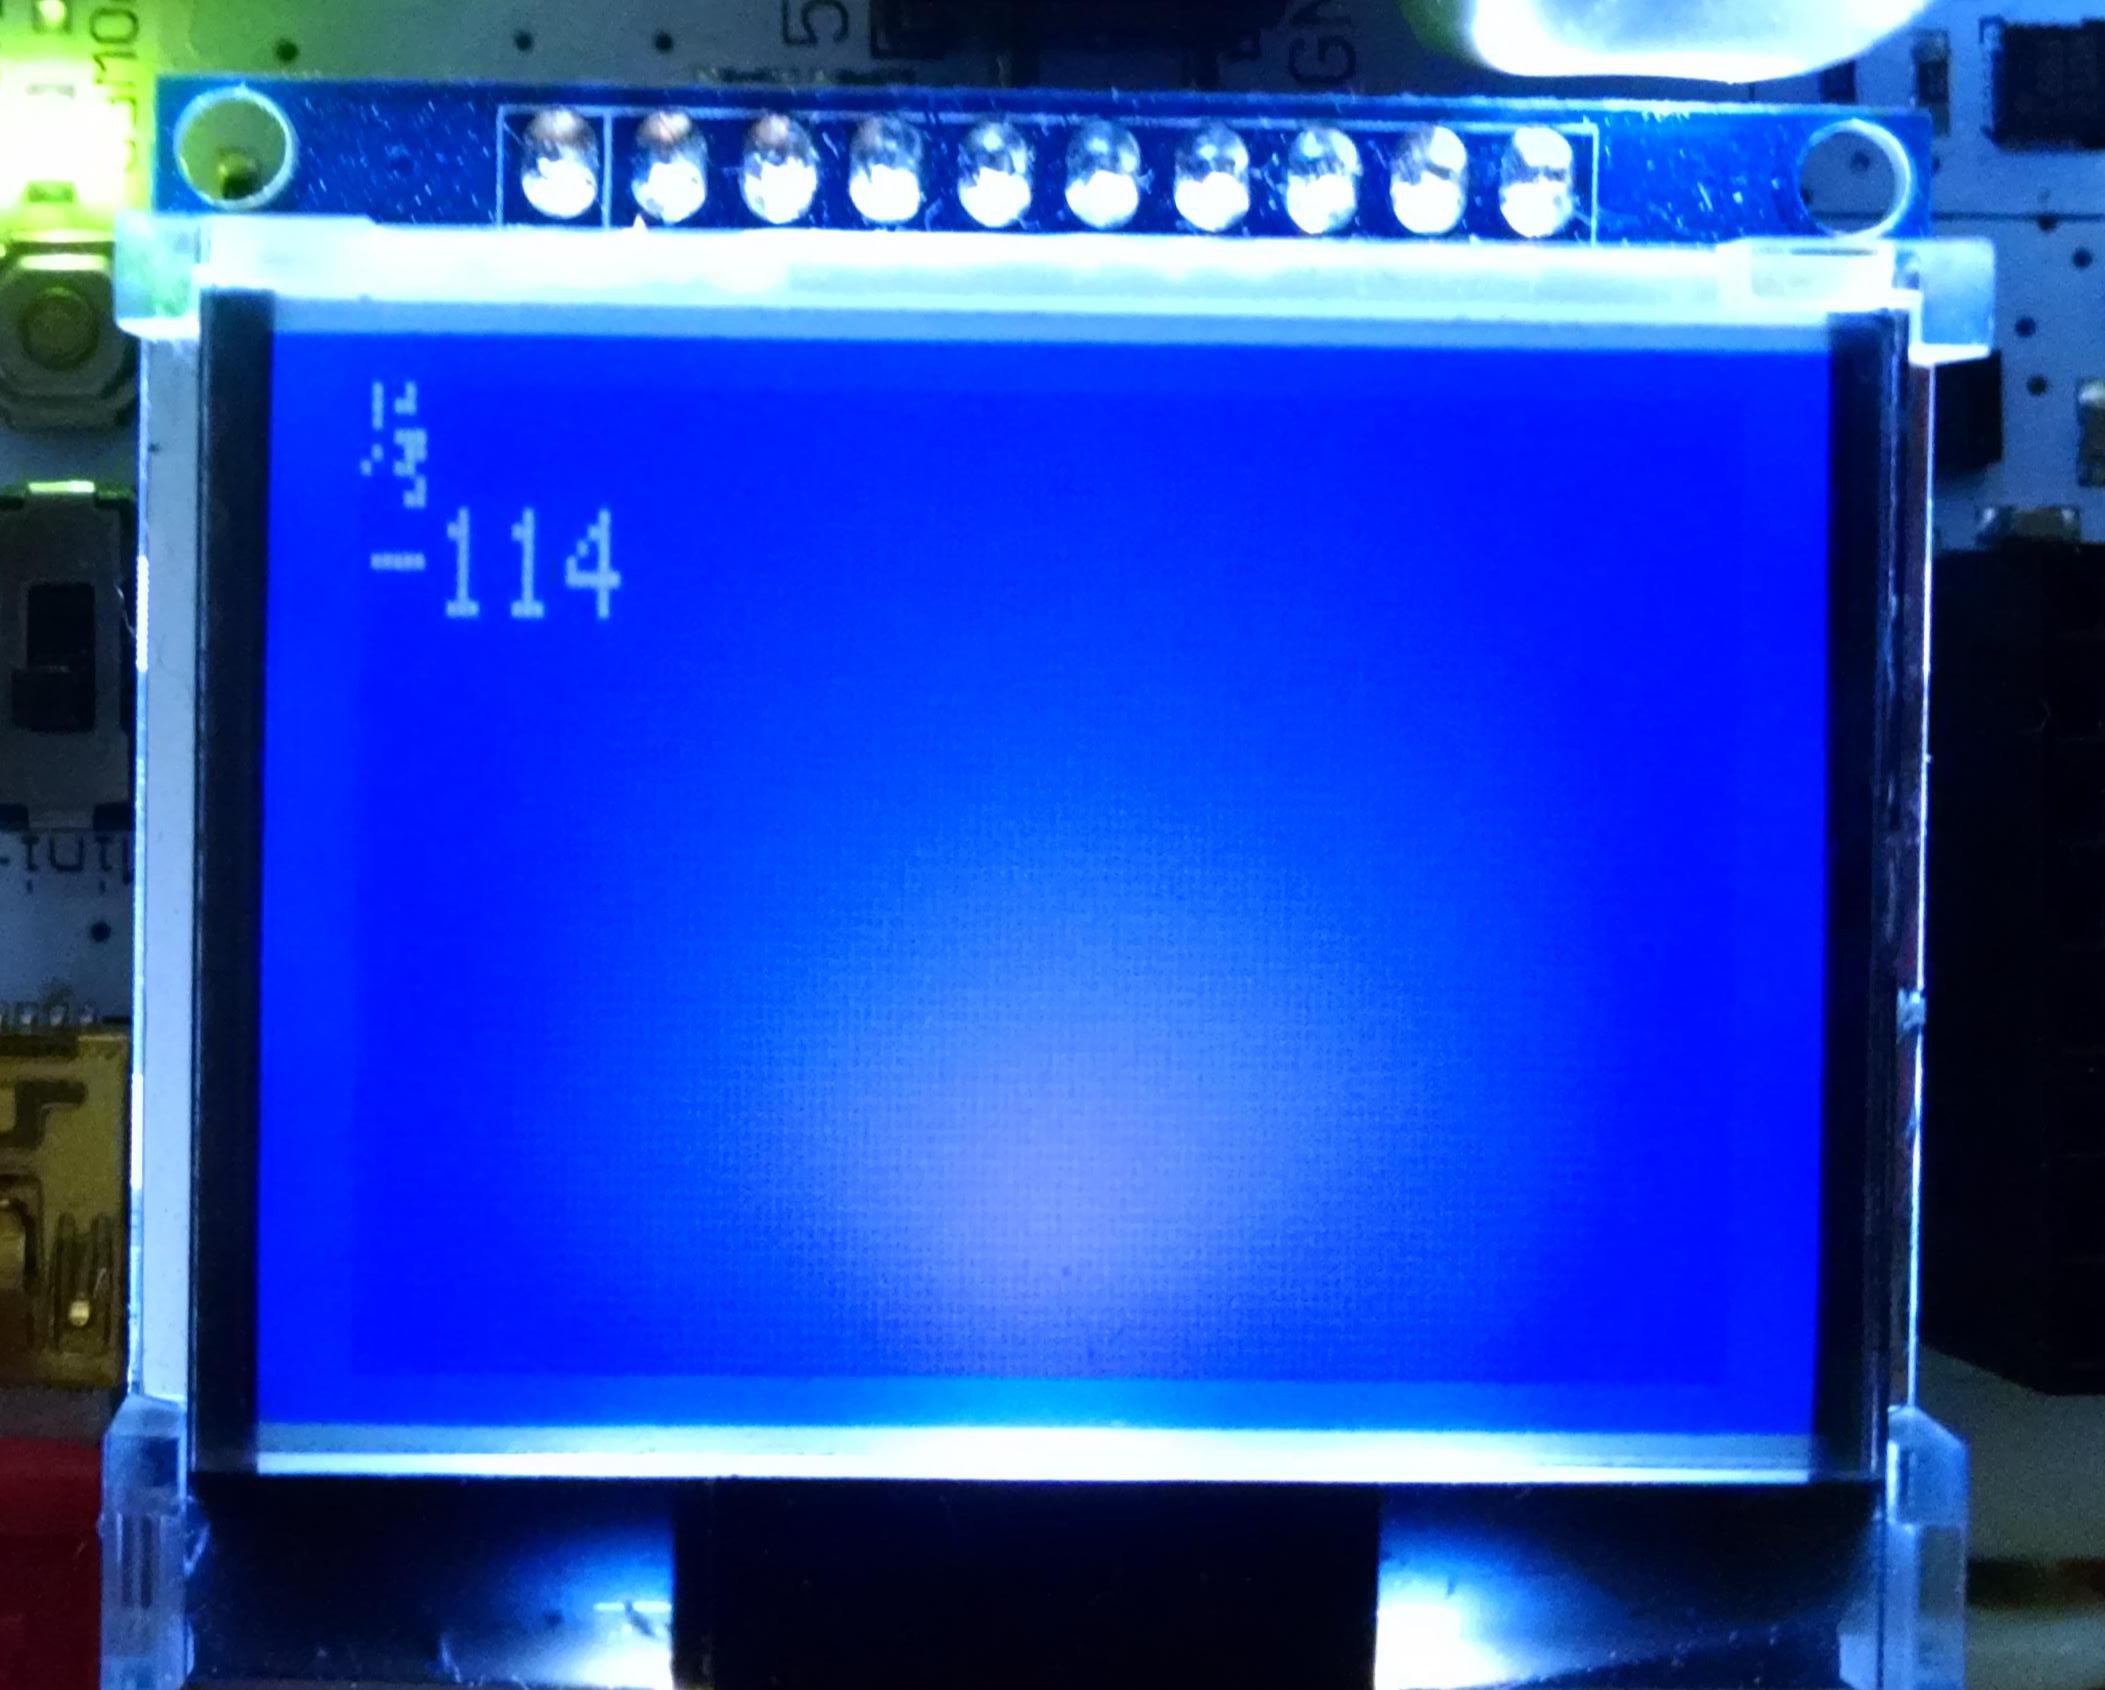 What happened is that once a variable gets to the upper limits of its memory space (the physical space on a chip that holds the variable) it wraps around to the very lowest possible value for the variable. In this case there are 128 negative values for a character, but there are no cool characters stored in these spaces so we get a bunch of junk. Weird, huh?
Doing Math with Character Variables
Because characters are integer numbers on the inside, you can add to them (or subtract, multiply or divide) to change them. Try it out:|
1 2 3 4 5 6 7 8 9 10 11 12 13 14 15 16 17 18 19 20 21 22 23 24 25 26 |
#include <Sparki.h> // include the sparki library void setup() { } void loop() { sparki.clearLCD(); // erase the LCD char foo; // declares a variable of type chracter sparki.print( "foo: "); sparki.println( foo ); foo = 'b' + 1; sparki.print( "'b' + 1: "); sparki.println( foo ); // b + 1 foo = 'b' - 1; sparki.print( "'b' - 1: "); sparki.println( foo ); // b - 1 sparki.updateLCD(); // put what has been drawn onto the screen delay(1000); // wait 1 seconds (1000 milliseconds) } |
 You can even try multiplying characters. Don’t worry about going above an ASCII value of 127, remember it will just wrap around into the negatives if that happens.
What about dividing? Since characters are based on integers when you divide you’ll never have to worry about winding up with a decimal value that doesn’t correspond to a character. So yeah, go ahead and try it!
You can even try multiplying characters. Don’t worry about going above an ASCII value of 127, remember it will just wrap around into the negatives if that happens.
What about dividing? Since characters are based on integers when you divide you’ll never have to worry about winding up with a decimal value that doesn’t correspond to a character. So yeah, go ahead and try it!