


Infrared Remote
Learn about Sparki's Infrared Remote
Lessons You Should Know

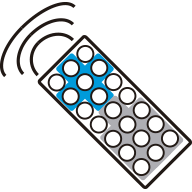
Sparki comes with an infrared remote control, similar to the kind used to control TVs. It is used to send infrared codes to Sparki, which it can receive with its infrared remote receiver.
How It Works
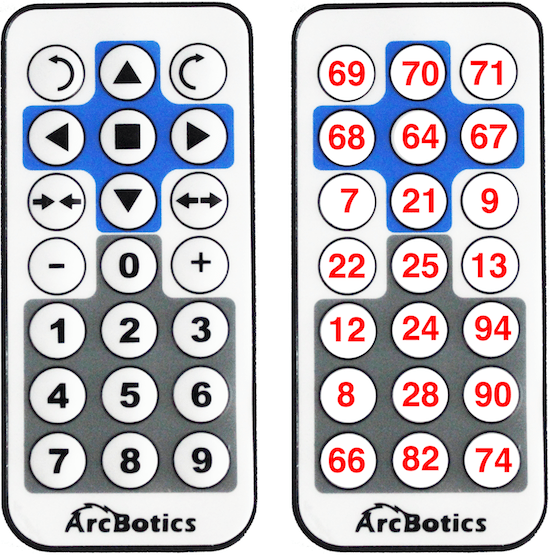
Each button on the remote sends a certain code to Sparki, which it can receive with its infrared remote receiver. The codes each button on the remote sends is listed below:
Using the Part
With the basic Sparki code in place, you can measure an infrared sensor by using this command:
sparki.readIR();
This command returns the last code that was sent to Sparki. It returns this number in the form of an integer. If there has not been a code sent since the last time Sparki ran this command, it will send back a -1.
SparkiDuino already has code examples for you to use:
File > Examples > Remote
/*******************************************
  IR Remote

  Sparki has a sensor that lets it receives
  commands from the included remote control.
  Try moving it around!
********************************************/
#include <Sparki.h> // include the sparki library

void setup()
{
  sparki.clearLCD();
}

// /------^-----
// |            |
// | 69  70  71 |
// | 68  64  67 |
// |  7  21   9 |
// | 22  25  13 |
// | 12  24  94 |
// |  8  28  90 |
// | 66  82  74 |
// ____________/

void loop()
{
  int code = sparki.readIR();

  if(code != -1){
    sparki.print("Received code: ");
    sparki.println(code);
  }

  switch(code){

  // Movement buttons
  case 70: sparki.moveForward(); break;
  case 21: sparki.moveBackward(); break;
  case 67:
  case 71: sparki.moveRight(); break;
  case 69:
  case 68: sparki.moveLeft(); break;
  case 64: sparki.moveStop();
           sparki.gripperStop();
           break;

  // Gripper Buttons
  case 9:  sparki.gripperOpen(); break;
  case 7:  sparki.gripperClose(); break;

  // buzzer
  case 74: sparki.beep(); break;

  // Servo Buttons
  case 90: sparki.servo(SERVO_LEFT); break;
  case 28: sparki.servo(SERVO_CENTER); break;
  case 8: sparki.servo(SERVO_RIGHT); break;

  // RGB LED
  case 25: sparki.RGB(RGB_OFF); break;
  case 12: sparki.RGB(RGB_RED); break;
  case 24: sparki.RGB(RGB_GREEN); break;
  case 94: sparki.RGB(RGB_BLUE); break;

  default:
    break;
  }

  sparki.updateLCD();
}

Also, you can try more complex programs, such as Sparki’s Default Program.