

Uploading Code with SparkiDuino
This guide will show you how to upload new code onto Sparki written with C/C++ in SparkiDuino.
Uploading new code will erase any old code. This example will disable the remote. You can re-upload remote code later.
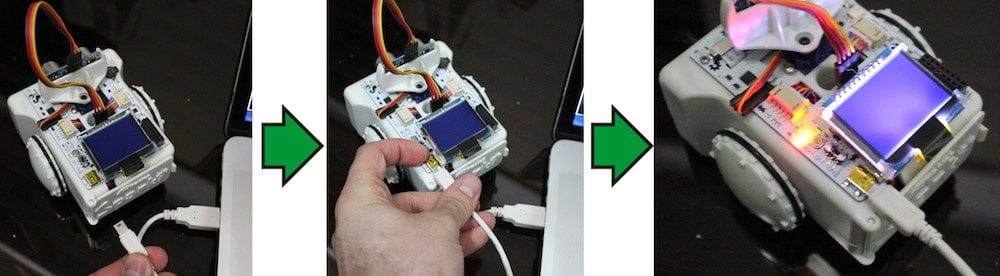
Plug in Sparki
Plug in Sparki via USB. The status light should pulse red. Wait for this to stop.
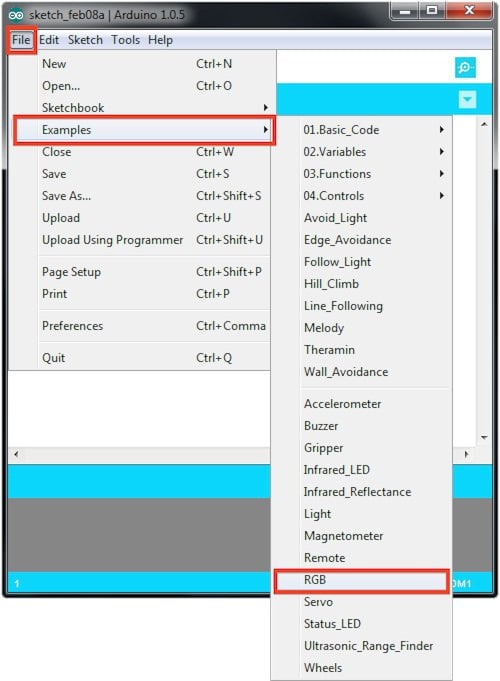
Open the Example
Start by opening the example program. Here we are selecting the RGB example. This will give you something to upload.
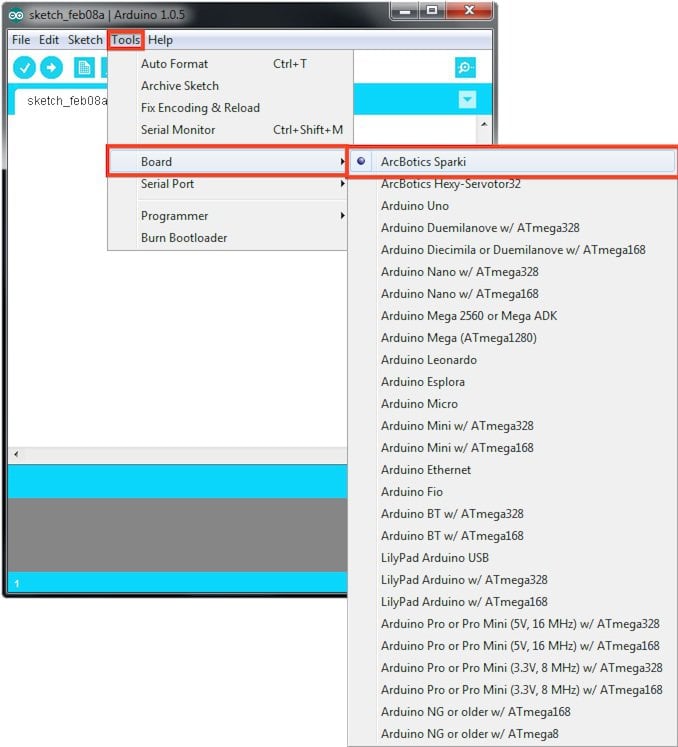
Select the Board
From SparkiDuino’s menu, select Tools > Board > ArcBotics Sparki:
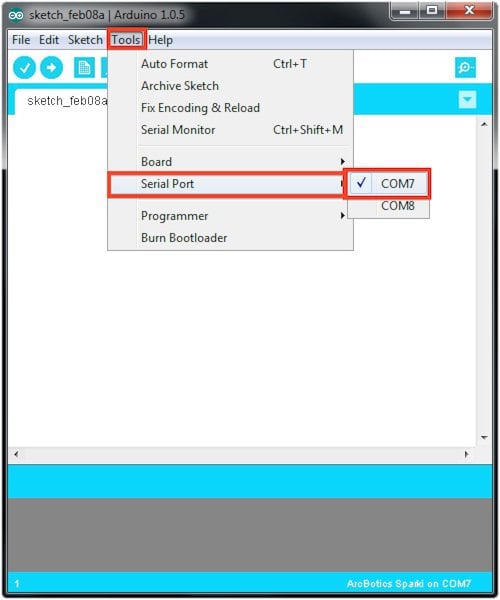
Select the Serial Port
From SparkiDuino’s menu, select Tools > Port > ArcBotics Sparki:
Upload the Code
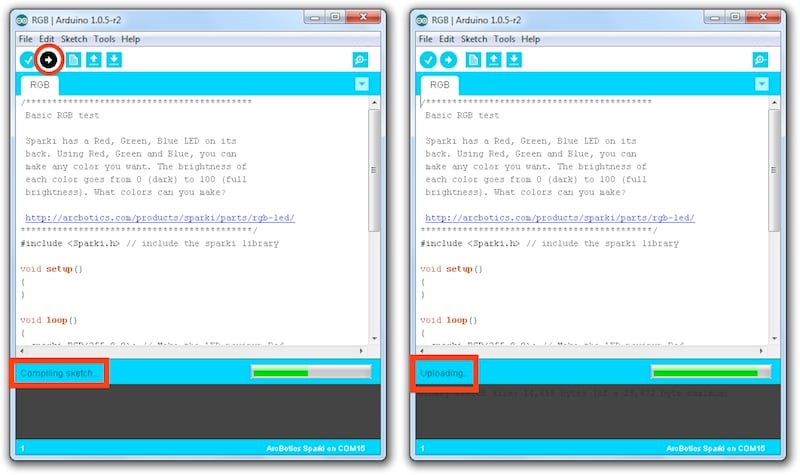
When code is uploading, Sparki’s red status light will pulse, then blink rapidly while code is uploading.
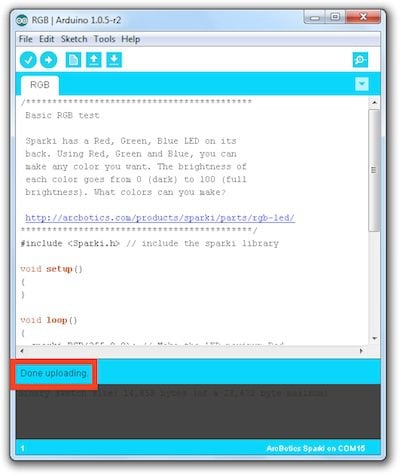
If you see “low memory available,” don’t worry, this is fine. Sparki’s LCD uses a lot of memory, more than Arduino is used to seeing, so it thinks something might be wrong. It is unlikely you’ll use more memory than Sparki has while doing anything we talk about in the lessons. Worse case, if you do, you can always do a manual upload here.
Code is Uploaded!