


Analog and Digital Signals
Two Different Ways to Look at the World
Lessons You Should Know

It’s not really programming, but the difference between analog and digital are really important to understand if you want to work with robotics in the future.
Here’s what we’ll be covering on this page:
Sensors that Make Signals
There are many sensors that measure things in the world or control electricity. On Sparki there are a bunch- infrared sensors, an ultra-sonic sensor, a compass, an accelerometer, a switch (on/off) and a button. The sensors are called “inputs” because they put electricity into the robot in some way or another. The way they put electricity into the robot is what makes them either digital or analog.
Digital Signals
Digital sensors can only be on or off, there is no in between. When a digital sensor is on it sends all the electricity from the circuit into the robot. When a digital sensor is off it will not send any electricity to the robot.
When reading a digital sensor the robot compares the electricity coming from the sensor to a HIGH electrical signal, which is all of the electricity that the robot can stand. The robot also compares the electricity to a LOW electrical signal, which is usually a connection to the ground of the robot’s battery.
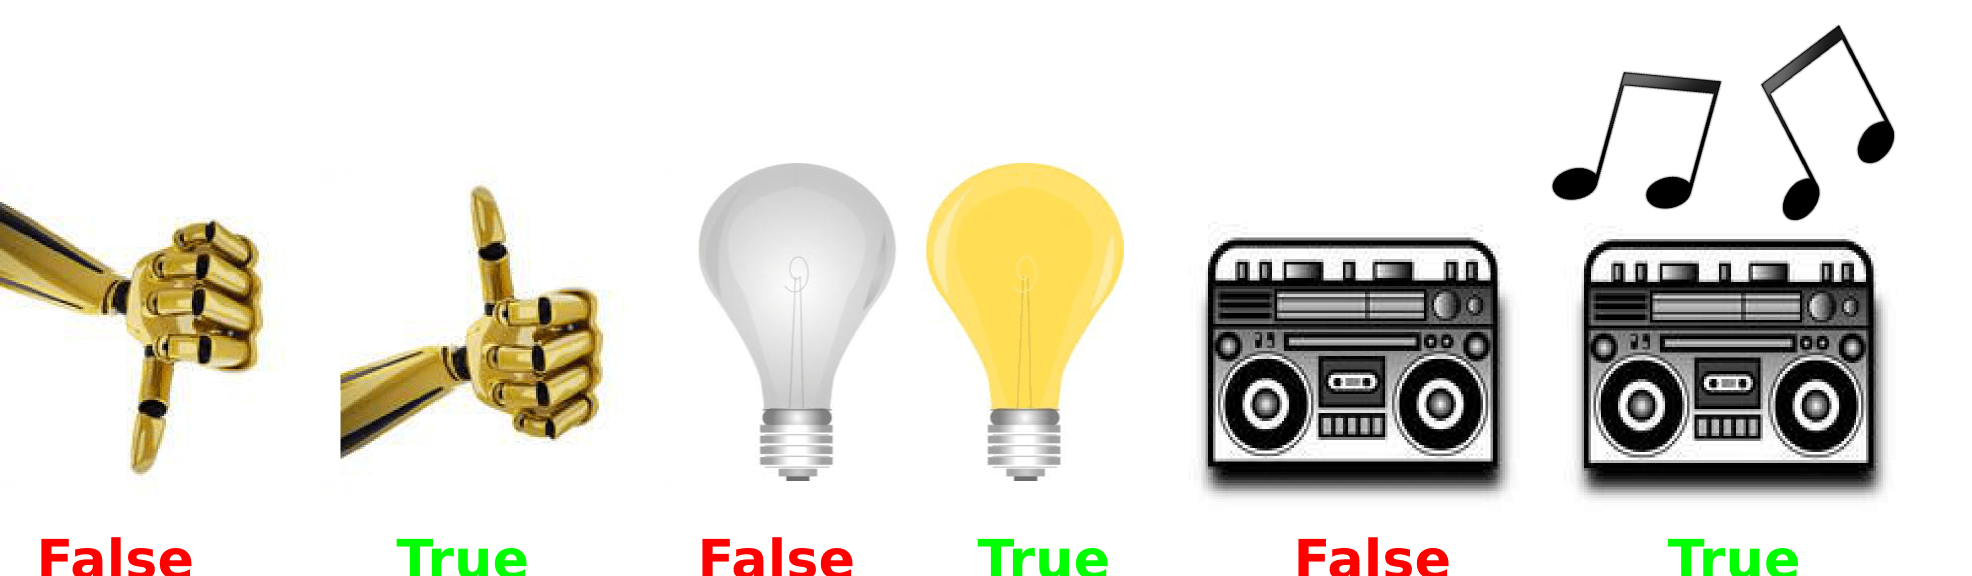
When there is all the electricity present the robot calls this signal a HIGH signal, it is also sometimes referred to as a TRUE signal or with the number one. Digital signals are like boolean variables (because they are boolean) and so all the things we used to think about booleans can be used to talk about digital signals- a coin with two sides, a light switch, day and night. You can think of a robot using a digital signal as plugging and unplugging an electrical cord in an outlet. Either the cord is in the outlet and there is electricity or the cord is not in the outlet and there is no electricity. It’s not possible to have an electrical cord that is sort of plugged in.
There aren’t a lot of digital sensors- mainly there are buttons and switches but you can think of the communication between the chip based parts of the robot as digital. Technically the Bluetooth communication that Sparki uses is a bunch of digital signals.
Here are a couple examples of digital states that a robot might measure- whether there is a wall in front of it or not, whether there is a line below the robot or not and whether its reset button has been pressed or not. What are some other examples of digital values that a robot might measure? (This is harder to figure out than you might think.)
Robots will also use a digital signal to control outputs like motors and LEDs. Robots that use a digital signal to control an output like that can only turn the output all the way on or all the way off. That means they can blink an LED, but they can’t make it turn on just a little bit. (There’s a way around that called Pulse Width Modulation.)
Analog Signals
Most robots will have at least one analog sensor. Analog sensors can measure in ways that digital sensors can’t. They can measure a little bit of light, a brighter light or the brightest light ever! That’s really useful since most of our world isn’t measurable in true or false values.

A robot measures analog values by getting a certain amount of electricity from an analog sensor. Then the robot compares the analog sensor value to a bunch of different levels of electricity it has stored inside of it. The robot keeps comparing the analog sensor value to a larger and larger amount of electricity until the analog sensor value is smaller than one of the amounts of electricity. Then the robot knows that the analog sensor value is closest to the last amount of electricity to which it compared the analog sensor value.

There are a bunch of different ways you can think about this- one is like figuring out how tall you are compared to your classmates. Imagine that you don’t have a tape measurer but you want to tell your teacher how tall you are. So you line up all the kids in your class from shortest to tallest. Then you can walk down the line comparing yourself to the other kids. If Aimee is taller than you, take a step backwards to the kid just before Aimee. Maybe that’s Michael. Now you can tell your teacher that you are about as tall as Michael and the teacher will know how tall you are in comparison to all the other kids in the class.
The number of kids in your class is similar to the analog resolution of a robot. That’s how closely a robot can measure an analog value. Analog resolution can be different depending on which robot you are using. SparkiDuino divides its analog sensor values into 1023 values. That’s means it can measure 1023 different shades of brightness from a light (or an infrared light) and 1023 different distances with its ultra-sonic sensor. Pretty good, huh?
Pulse Width Modulation
A robot only understands ones and zeros, right? So it can really only turn motor on or off. But then how does it travel along at faster or slower speeds? That’s not turning the motor all the way on or off! Or is it?
In order to do things like dim an LED or make a motor move slowly robots use something called “Pulse Width Modulation.” Basically this means that the robot acts like a little kid who is turning a light switch on and off really quickly. Except a robot is so fast that our eyes can’t keep up so we see a dimmer light instead of the light being turned on and off.
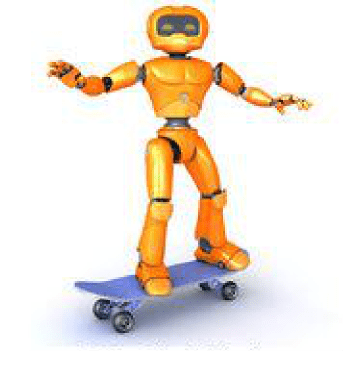
When using Pulse Width Modulation to move a motor you can think of a robot on a skateboard. The robot can turn the motor on or off- by kicking to move the skateboard or not kicking. What the robot does is control how often it kicks. With a lower Pulse Width Modulation (or PWM) value the motor goes slower, but it doesn’t stop. This is because the motor will cruise along (getting a little slower as time goes on) in between kicks, it averages out to a speed that is not as fast as when the robot is always kicking on the skateboard.
If you want to learn more about PWM check out the RGB LED lesson with Sparki here.
Recap of What We’ve Covered So Far
or
Next Step:
Ok! You’ve worked your way through a whole bunch of coding and robotics concepts. Congratulations! This is the end of the beginner code section. If you want to go further check out Beyond Basic Coding or start playing around with Sparki and writing your own code:
Next Lesson – Beyond Basic Coding