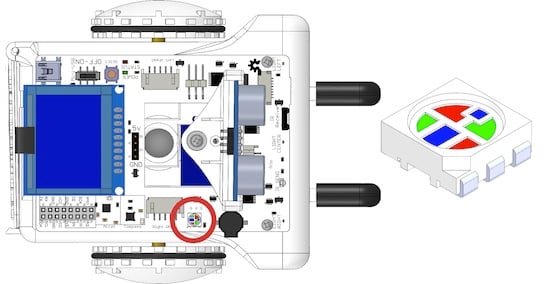
RGB LED
Learn how to use Sparki's RGB LED
Lessons You Should Know

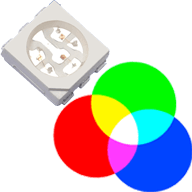
Sparki has an RGB (Red, Green, Blue) LED light. It is used to display any color, useful for showing simple information.
How It Works
By combining the colors red, green and blue you can make any color you want:
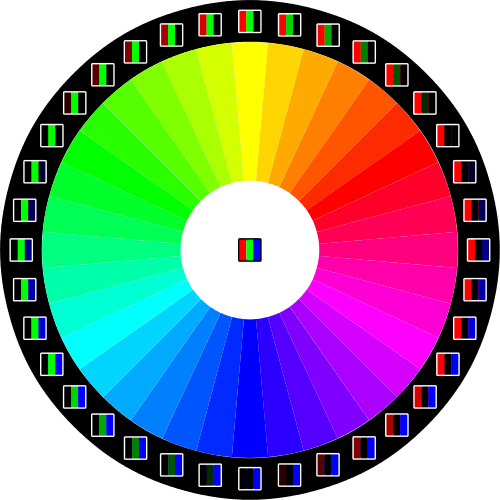
To use this idea, the part has a tiny red, green and blue LED light closely placed together. By adjusting the intensity of each of these LED lights, it is possible to create any color.
Using the Part
With the basic Sparki code in place, you can change the RGB LED color using this command:
sparki.RGB(red, green, blue);
Where red, green and blue are numbers from 0 to 100. For example, if you wanted the light to be red-only, you would use:
sparki.RGB(100, 0, 0);
You can also use the name of a color (as long as it’s all capital letters) to display it. So for the above example of red, you would use:
sparki.RGB(RGB_RED);
Sparki’s code comes with the following predefined colors:
RGB_RED
RGB_GREEN
RGB_BLUE
RGB_WHITE
RGB_OFF
SparkiDuino already has code examples for you to use:
File->Examples->Sparki->RGB
/*******************************************
 Basic RGB test

 Sparki has a Red, Green, Blue LED on its
 back. Using Red, Green and Blue, you can
 make any color you want. The brightness of
 each color goes from 0 (dark) to 100 (full
 brightness). What colors can you make?

 Here are Sparki's colors:
             R    G    B
 RGB_RED     100, 0,   0
 RGB_ORANGE  90,  100, 0
 RGB_YELLOW  60,  100, 0
 RGB_GREEN   0,   100, 0
 RGB_BLUE    0,   0,   100
 RGB_PINK    90,  0,   100
 RGB_INDIGO  20,  0,   100
 RGB_VIOLET  60,  0,   100
 RGB_WHITE   60,  100, 90
 RGB_OFF     0,   0,   0

 RGB LED
********************************************/
#include <Sparki.h> // include the sparki library

void setup()
{
}

void loop()
{
  sparki.RGB(100,0,0); // Make the LED maximum Red
  delay(500); // wait 0.5 seconds (500 milliseconds)

  sparki.RGB(0,100,0); // Make the LED maximum Green
  delay(500);

  sparki.RGB(0,0,100); // Make the LED maximum Blue
  delay(500);

  sparki.RGB(RGB_WHITE); // Make the LED white (all colors)
  delay(500);

  sparki.RGB(RGB_OFF); // Make the LED white (all colors)
  delay(500);
}