


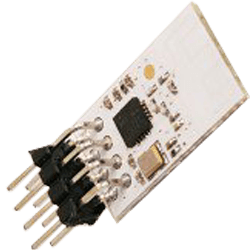

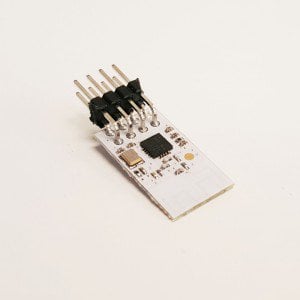
Some Sparkis come with a radio module. It allows Sparkis to communicate wirelessly with other Sparkis that also have radio modules. It can not currently be used to communicate with a computer. These modules come pre-included with the MAKE edition Sparkis, or can be purchases separately in our store.
![]()
Using the Part
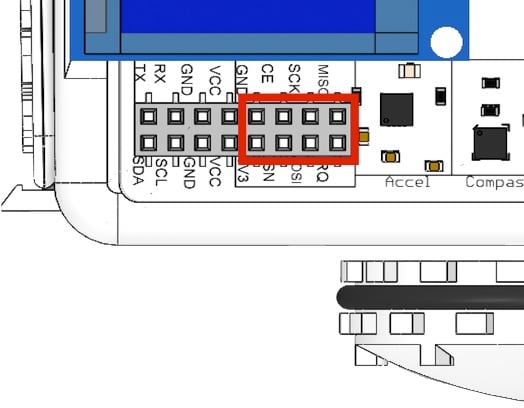
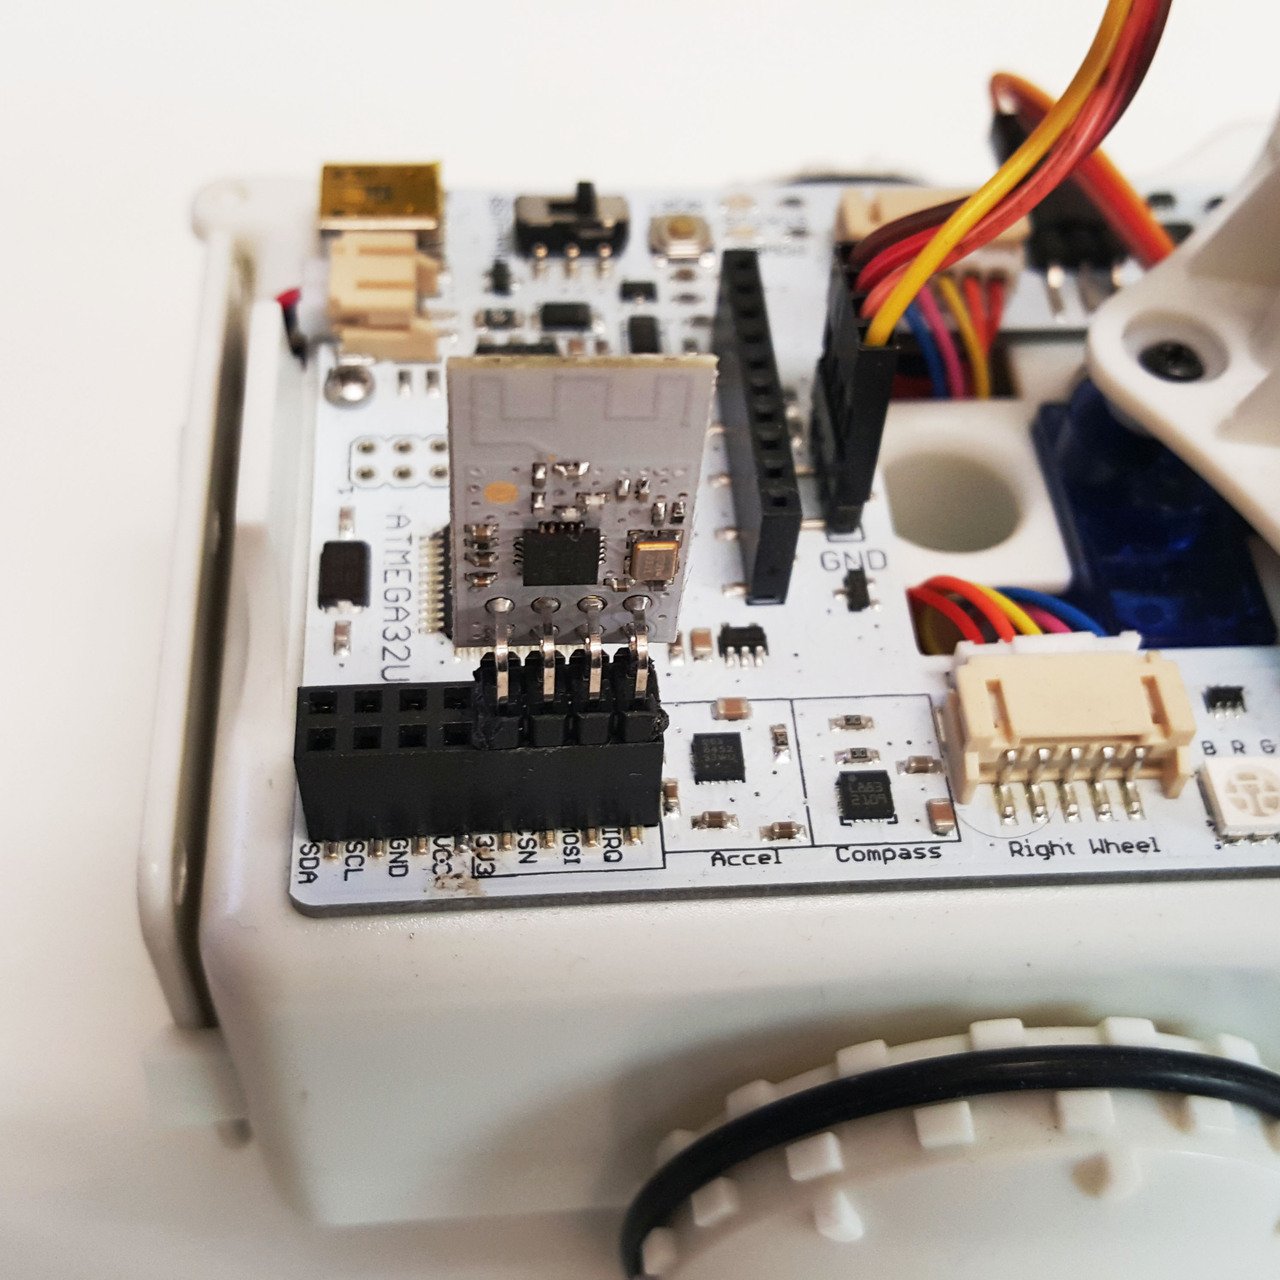
The radio module is inserted into Sparki’s expansion port pins:
With the radio plugged into two or more Sparkis, you can use it to send different variables to other Sparkis.
The following examples are for two different Sparkis. One is sending char variables, and the other is receiving them. The example below comes with the latest version of SparkiDuino:
Transmitting Sparki
#include <SPI.h>
#include <Radio.h>

Radio radio;

void setup()
{
  radio.begin();
}

char start[] = "Hello";
void loop()
{
  for(int i=0; i<5; i++){
    radio.writeChar(start[i]);
  }
  delay(1000);
}
Receiving Sparki
/******************************************* Basic Radio test Some versions of Sparki come with an NRF24L01+ radio module. This code will let you test the module on a Sparki, using the serial monitor.Radio********************************************/ #include <SPI.h> #include <Radio.h> Radio radio; void setup() { Serial.begin(9600); radio.begin(); } char start[] = "Hello"; void loop() { // Uncomment this code if receiving if ( radio.available() ){ // if data is unread from the radio Serial.println( radio.readChar() ); } }
This example sends char data. You can also different write/read commands for ints and floats:
radio.writeChar(char)
radio.writeInt(int)
radio.writeFloat(float)

radio.readChar()
radio.readInt()
radio.readFloat()