Light Sensor
Learn about Sparki's Light Sensor
SparkiDuino
Easy
Lessons You Should Know

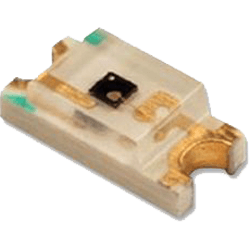
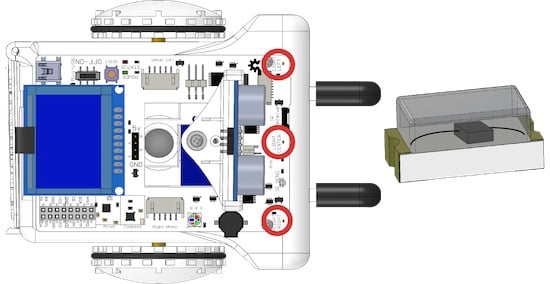
Sparki has three light sensors that detect the level of light that hits them:
How It Works
These sensors are phototranistors that are connected to Sparki so that the more light that hits them, the higher the voltage they send to Sparki.
Using the Part
With the basic Sparki code in place, you can measure the light sensor using this command:
sparki.lightLeft();
sparki.lightCenter();
sparki.lightRight();
This command returns the amount of light in terms of an integer. The more light, the higher the number. Each sensor is slightly different, so the same amount of light may not mean the same number for each sensor.
SparkiDuino already has code examples for you to use:
File->Examples->Light
/*******************************************
 Basic Light Sensor test

 Sparki has 3 light sensors in the front,
 one each on the left, middle and right.
 This program shows how to read the sensors
 and display the information on the LCD.
********************************************/
#include <Sparki.h> // include the robot library

void setup()
{
}

void loop() {
  sparki.clearLCD(); // wipe the screen

  int left   = sparki.lightLeft();   // measure the left light sensor
  int center = sparki.lightCenter(); // measure the center light sensor
  int right  = sparki.lightRight();  // measure the right light sensor

  // write the measurements to the screen
  sparki.print("Left   ");
  sparki.println(left);

  sparki.print("Center ");
  sparki.println(center);

  sparki.print("Right  ");
  sparki.println(right);

  sparki.updateLCD(); // display all of the information written to the screen
  delay(100);
}