


Manually Uploading Sparki Code
How to upload code to Sparki when it refuses to upload normally
Lessons You Should Know

If Sparki ever gets stuck in a program, or for some reason the code isn’t uploading, never fear! You can always do a manual program upload.
Here’s how the Arduino software usually loads a program:
1.) Arduino software sends a signal to the board to reset to the bootloader
2.) Arduino software waits for the USB connection to reset because the board switched to bootloader
3.) Board is now in bootloader
4.) Arduino software sees new USB connection, sends what it supposes is the bootloader a new program
5.) Bootloader re-writes the program space with the program the Arduino software just sent it, then runs what it just wrote
If you have a program you uploaded to Sparki that causes it to crash (hey, you’re learning programming, that’s fine!), Sparki’s chip might not get the signal in #1.
Here’s how we can do a manual upload to fix this:
1 – Get everything ready
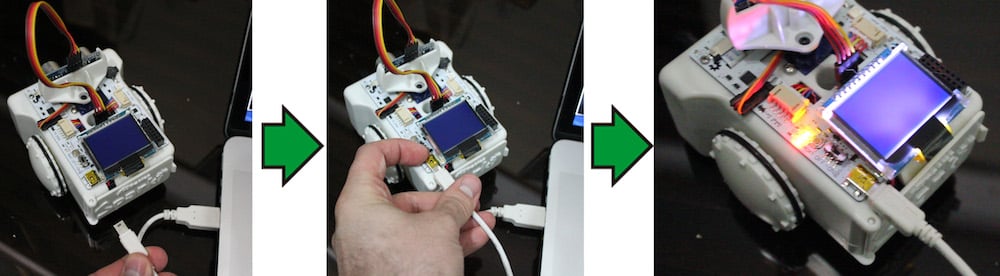
- Sparki’s USB cable is plugged both into Sparki and the computer running SparkiDuino.
- SparkiDuino and drivers are installed.
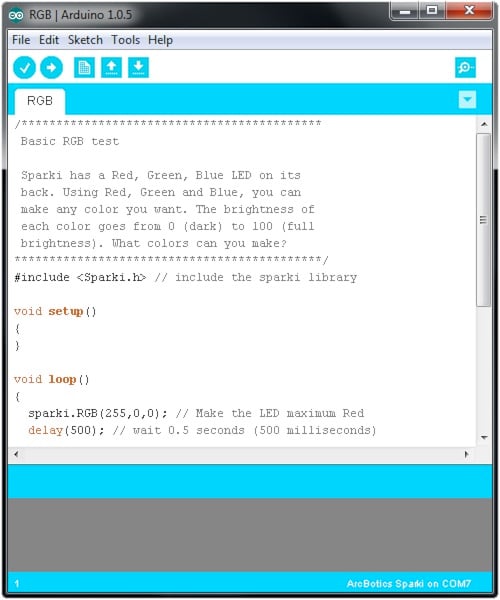
- SparkiDuino is open and has a program ready to install.
- If you are expecting Sparki to move, make sure the batteries are installed and the power switch is turned on.
- Make sure the board and serial port are selected. If there is no serial port listed, this method still might work.
 +
+
2 – Hold Sparki’s Reset button, don’t let go yet!
The button is located next to the power switch and USB port on Sparki, to the left of the LCD display on Sparki’s back.
![]()
3 – Press Upload, wait for “Uploading…”
Pressing the upload button in SparkiDuino. SparkiDuino will first say “Compiling Sketch” in the lower left-hand corner, then “Uploading…” As soon as that happens…
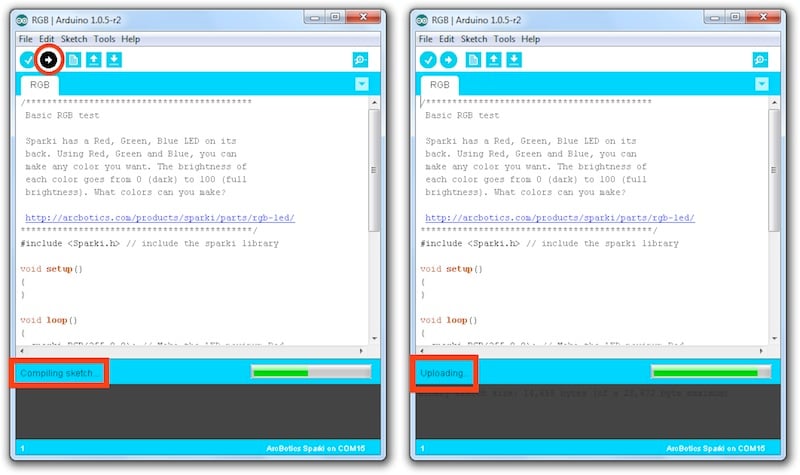
4 – Release the Reset button
As soon as SparkiDuino says “Uploading…,” release the button. Sparki will boot into programming mode, and SparkiDuino will connect and upload the code. Sparki’s red led will blink rapidly while the code is being uploaded, then clear as it runs the uploaded program.
![]()
This is what Sparki will look like while uploading
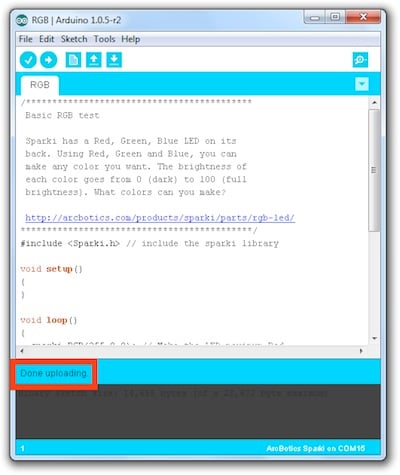
SparkiDuino will show it is Done Uploading
5 – Double check, and try again
If this method doesn’t work the first time, wait 10 seconds and try again. It may take a few tries to get the timing right.