Welcome to the World of Coding!
In this lesson we’ll cover the basics that you need to know to get started with programming Sparki. This is a great place to start if you’ve never written any code before. Here’s what we’ll be covering on this page:
Super Basic- Empty Code that is Needed in Every Program for Sparki
This is the basic code that all Sparki code starts with:
#include <Sparki.h> // include the sparki library

void setup() // code inside these brackets runs first, and only once
{

}

void loop() // code inside these brackets runs over and over forever
{

}
On its own this code will not actually make Sparki do anything, but it’s necessary for this code to be present for Sparki to do anything.
Sections of Code
Include Sparki Library
#include <Sparki.h> // include the sparki library
This line will start Sparki up and import all of the code needed to interact with Sparki’s parts. While it is technically possible to do things without importing this library Sparki, the library makes it much easier.
This library contains a bunch of “functions” that you can use to make Sparki perform actions. Functions are sections of code that you can “call” up and use from anywhere in your code. Some simple examples of these functions are the movement functions that make Sparki move forward, backward and turn.
sparki.moveForward();
//example of a movement function found in the sparki library
You can think of this library of code as an actual library in the real world. Once the library has been included with the #include command it’s as if the library has been built and the doors are open. Think of the functions as books inside the library. Any time Sparki needs some code that’s already written in its library it can go and look for a book about movement (to be more specific a book about moving forward), making sounds, lighting up a robot’s LED and much more, you can just access one of those books… errrr functions.
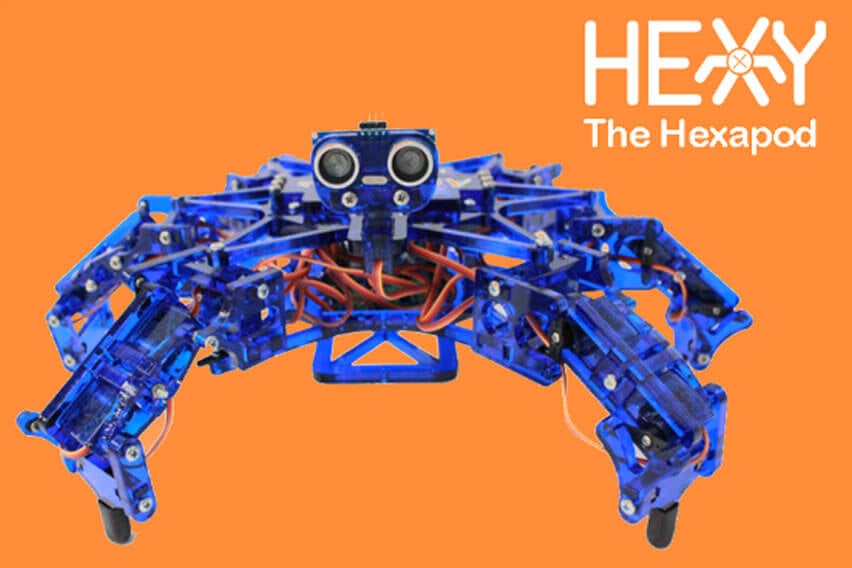
The portion of the function at the beginning of the function with the period tells you which library the function belongs to so that Sparki knows where it needs to go to get the code. This is called “dot notation” and it is used in a couple different coding languages. When you are using the Hexy robot it has a different library called “hexy” so its library function look different because they live inside the hexy library instead of the sparki library.
hexy.LF #Left Front
Setup: Starting Up the Robot
All of the code needed to get the robot started lives inside of the curly brackets after the word “setup”. The code inside these brackets will be the first code to run when the robot is turned on. This code will only run once and it’s the only portion of code that the robot will only try to run once.
You can think of this portion of the code as your morning routine when you wake up in the morning or stretching before playing an athletic game. While your day or sport will probably have things that repeat over and over again (walking to and from classes, breathing, placing one foot in front of the other, running up the field and back, etc.) you only do your morning routine or stretch once. That’s because you only need to get ready for your day or game once. Sure, sometimes you may have a really long and complicated morning routine or somedays you may just throw on clothing and run out of the door, but you always have some sort of “setup” routine for your day.
setup( ) happens exactly once when you turn on your robot and it gets the robot ready for the rest of the code- kind of like when you brush your teeth in the morning to get ready for the rest of your day
Just like your morning routine changes there may be a bunch of different things inside of setup depending on what you want the robot to do. It may contain commands to start communication, code to make the robot move around or calibrate sensors.
Loop: Repeating Code Over and Over and Over and Over and Over…..
The code inside of the curly brackets after the word “loop” will start after the setup function has run. Code inside these brackets will loop forever until the robot gets turned off or the batteries run out. That’s right, once the robot gets to the bottom of the loop code it goes right back up to the top and starts running it all over again.
void loop() // code inside these brackets runs over and over forever
{ //it starts here (and restarts here and restarts here and restarts here)
sparki.moveForward(); //then the robot does this command second
sparki.moveRight(); //then the robot does this command third
sparki.moveLeft(); //fourth
sparki.moveBackward(); //fifth
} //the robot goes back to the top of the loop once it reaches here
Each line of code is a different action for the computer or robot to complete. Some of these lines of code will make things happen (called executables because they execute), others will keep track of information (called variables because they vary) and bits that make smaller loops that (hopefully) only happen a certain number of times before the computer or robot continues to run the rest of the code. These bits of code are called control loops.
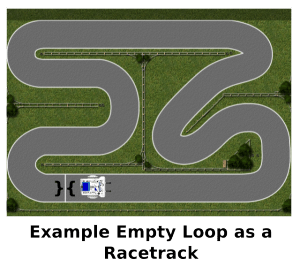
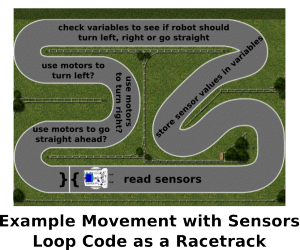
Making robots continuously execute code with small changes to variables is what makes the digital world go around, so understanding the loops is important. You can think of the loop as a racetrack that the computer or robot kind of races around performing actions as it gets further and further around the racetrack until it gets back to the beginning of the racetrack:
Three other key examples of control loops that you will eventually learn about:
- For loops– Useful for making code execute for a certain number of times or making code execute until an input has happened a certain number of times
- While loops– Useful for making code execute while a variable (or multiple variables) is equal to a certain value or set of values
- Switch/Case statements– Useful for making different things happen depending on the value of a variable. Switch/Case statements will also only execute once each time through the main loop
Recap of What We’ve Covered So Far
or
Next Step:
Now that you’ve learned about the basic parts to Sparki’s code we’ll go into a little more detail about the weird symbols you see everywhere in the code. They all mean something, I promise!


