

Uploading Block Programs with Ardublock
Starting with version 1.6.8.2, SparkiDuino includes Ardublock, a way you can program Sparki using beginner friendly blocks.
This guide will show you how to upload new code onto Sparki made with Ardublock.
Uploading new code will erase any old code. This example will disable the remote. You can re-upload remote code later.
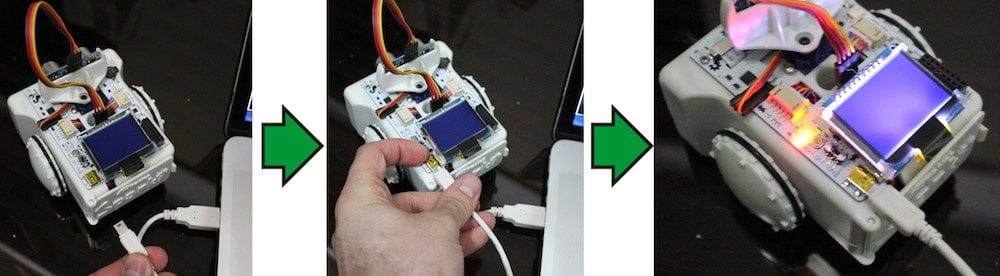
Plug in Sparki
Plug in Sparki via USB. The status light should pulse red. Wait for this to stop.
Open the Example
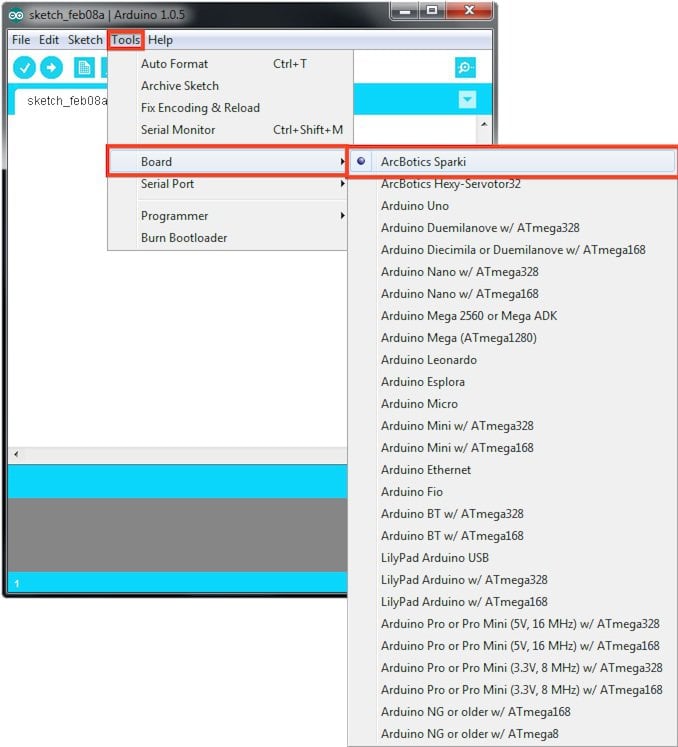
Select the Board
From SparkiDuino’s menu, select Tools > Board > ArcBotics Sparki.
Select the Serial Port
From SparkiDuino’s menu, select Tools > Port > ArcBotics Sparki
Upload the Code
Upload the program by pressing “Upload to Arduino” in Ardublock. SparkiDuino will show “Compiling Sketch”, “Uploading”, and then “Done Uploading”.
When code is uploading, Sparki’s red status light will pulse, then blink rapidly while code is uploading.
Code is Uploaded!