

Making Sounds (miniBloq)
Sparki’s buzzer does more than the single tone beep you have probably heard before! In this tutorial, you’ll learn how to make Sparki play music!
What You’ll Need
- A Sparki.
How It Works
Sparki has a buzzer that can play various tones:
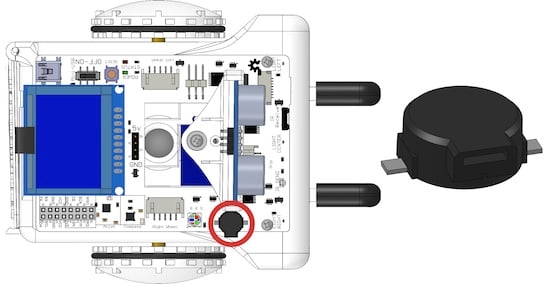 Sparki and a close up of the buzzer
The voltage causes the buzzer to bend, and it outputs sound waves:
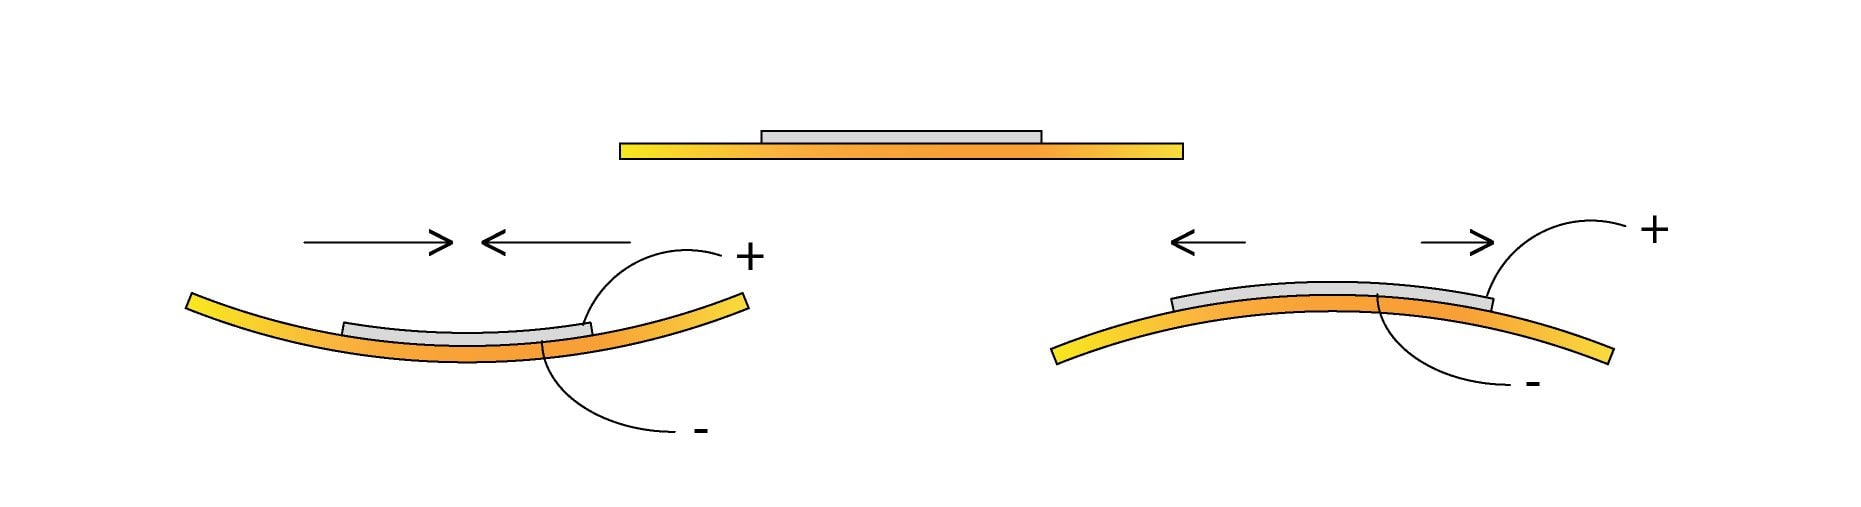
The voltage applied to the piezoelectric speaker causes it to bend and flex.
This bending and flexing moves the air around, and creates what we perceive as sound waves.
Sounds coming out of the speaker.
The closer the waves are together, the higher humans perceive the sound to be. The farther away the waves, the lower the sound. By changing the frequency with which the buzzer oscillates, we can bunch up the waves or space them out, making the sound seem higher or lower.
Programming It With Sparki
Using the buzzer from your own program is easy. For example, the following code produces just a small A note beep:
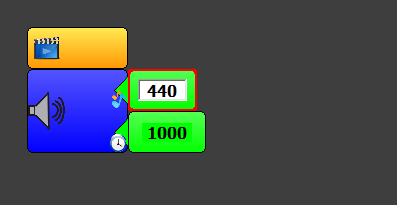

As you can see, we are just using one beep block, which receives two number parameters: the frequency (expressed in Hertz or just Hz) and the duration (expressed in milliseconds).
Now, let’s make something a bit more complex: playing different notes. If you double the A note’s frequency (440 Hz), you get the next A note in the music scale. So, let’s play A notes:
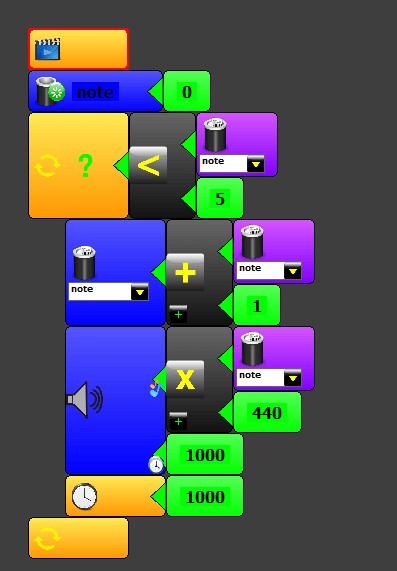
Did you hear the octaves?
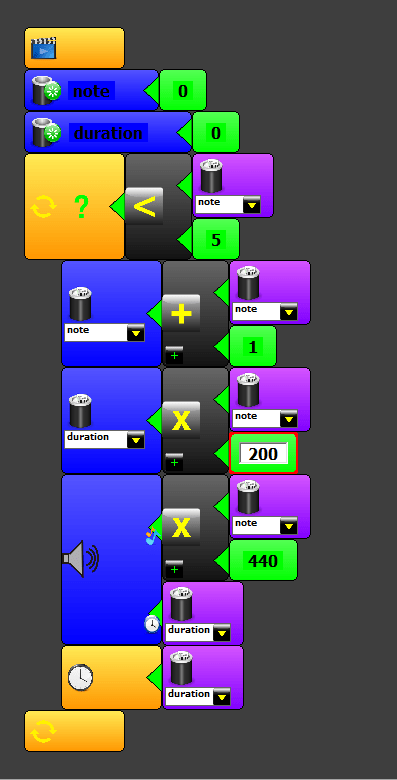
Finally, there is another parameter that we can modify on a note, aside from its frequency: its duration. The sparki.beep() let’s you pass a second number, after the frequency that specifies the duration in milliseconds (yes: a second divided by 1000 !). We will use this in the next example:
Great job! You made Sparki play sounds! Can you write a different song and make Sparki play that?
SparkiDuino Programming Environment
This lesson is also available for the SparkiDuino Programming Environment. SparkiDuino will allow you to program your Sparki using standard Arduino syntax.