Infrared Reflectance Sensor
Learn about Sparki's Infrared Reflectance Sensor
Lessons You Should Know

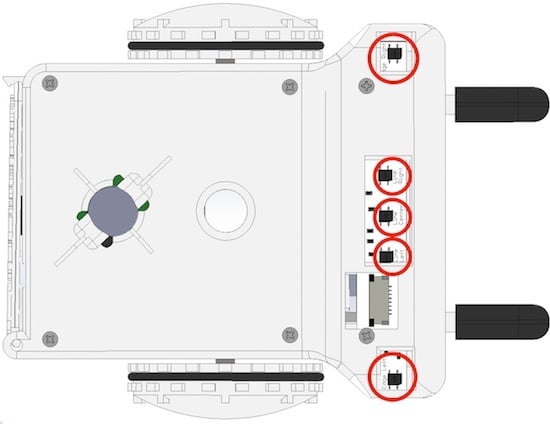
Sparki has 5 infrared reflectance sensors underneath it:

How It Works
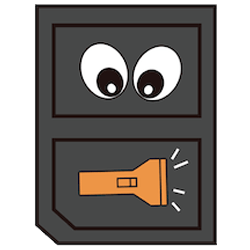
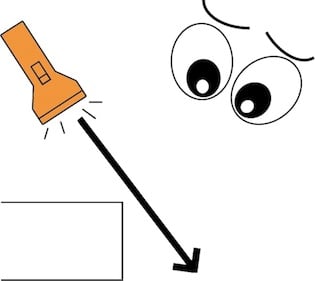
Each of these sensors has a phototransistor and an LED (Light Emitting Diode). These act like a pair of eyes and a little flashlight:
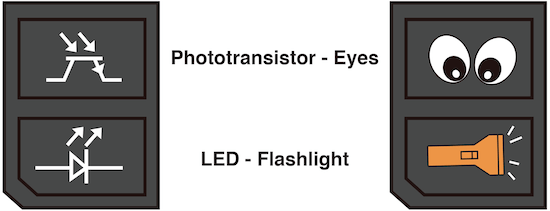
The LED is a little flashlight that shines invisible infrared light below the sensor.
The phototransistor is like a little eye that looks for how much infrared light comes back from the LED. The more light the phototransistor receives, the higher the voltage Sparki will read from it. You can use this to sense what kind of surface is underneath Sparki:
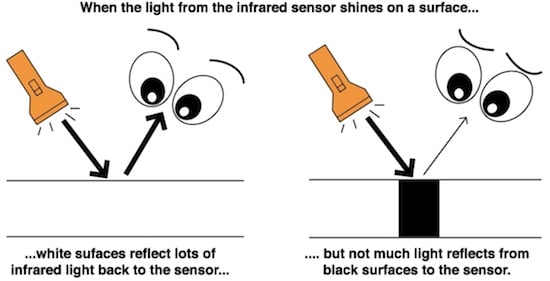
You can use this same idea to tell if Sparki is about to go over the edge of a surface, like a table. Without any surface underneath to bounce back the light, the sensor will not see much light.
Using the Sensor
With the basic Sparki code in place, you can measure an infrared reflectance sensor by using one of these commands:
sparki.edgeLeft();
sparki.lineLeft();
sparki.lineCenter();
sparki.lineRight();
sparki.edgeRight();
Each of these commands matches the sensor names underneath Sparki, next to each sensor.

If you want to read the sensor marked Line Center for example, use the robot.lineCenter(); command.
These commands return the number the sensor reads in the form of an integer. A typical reading for bright white paper is around 1000. A typical reading for a black line is below 400. A typical reading for going off the edge of a surface is below 200. These numbers can change based on outside factors though, like how much sunlight (infrared light) a room has, how dark/white something is, how far away the sensor is from surface and more. Experiment and see what changes it!
SparkiDuino already has code examples for you to use:
File > Examples > Infrared_Reflectance_Sensor
/*******************************************
  IR Sensors

  Sparki has sensors underneath that
  sense objects in the way, and differences
  in the surface color. This example shows
  the numbers from those on the LCD. Try
  seeing what surfaces affect the numbers.
********************************************/
#include <Sparki.h>

void setup()
{
}

void loop() {
  sparki.clearLCD(); // wipe the screen

  int edgeLeft   = sparki.edgeLeft();   // measure the left edge IR sensor
  int lineLeft   = sparki.lineLeft();   // measure the left IR sensor
  int lineCenter = sparki.lineCenter(); // measure the center IR sensor
  int lineRight  = sparki.lineRight();  // measure the right IR sensor
  int edgeRight  = sparki.edgeRight();  // measure the right edge IR sensor

  // write the measurements to the screen
  sparki.print("Edge Left:   ");
  sparki.println(edgeLeft);

  sparki.println();

  sparki.print("Line Left:   ");
  sparki.println(lineLeft);

  sparki.print("Line Center: ");
  sparki.println(lineCenter);

  sparki.print("Line Right:  ");
  sparki.println(lineRight);

  sparki.println();

  sparki.print("Edge Right:  ");
  sparki.println(edgeRight);

  sparki.updateLCD(); // display all of the information written to the screen
  delay(100);
}