Switch statements work like large sets of if statements using the equals logic operator. They are useful if you need to do a lot of comparisons based on one variable.
Here’s what we’ll be covering in this lesson:
What a Switch Statement Looks Like
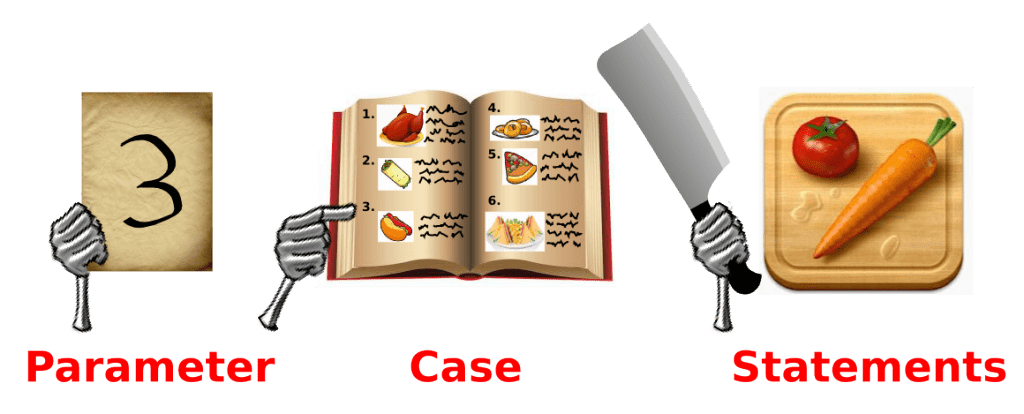
Switch statements use integers kind of like a condition, or the question they are asking. Only now it’s called a parameter. The switch statement asks for the number and compares it to a bunch of “case” statements. When the robot finds the case statement that has the same value as the parameter it runs the code inside that case statement.
The switch statement will keep running code until it gets to a break; command. So make sure you put in break commands, otherwise the switch statement will move on to the next case in the code!
Also, remember that in more complicated code you can even nest switch statements inside of other switch statements (or if statements, while loops or for loops) kind of like we talked about with nested if statements.
Here is the generic form of a switch statement:
switch ( parameter )
{
    case value1:
        statement1;
        break;
    case value2:
        statement2;
        statement3;
        break;
    default:
        statement4;
        break;
}
You can think of switch statements like a robot that works in a restaurant as a cook. The little robot brain can only concentrate on cooking one thing at a time so it gets the orders one meal (one number) at a time.
When the robot gets an order it sees a number on a piece of paper. Then it looks through the recipe book and looks for the number on the piece of paper. When it finds a recipe number (a case) that matches the number on the paper it follows the directions in that recipe. The directions on how to cook the recipe are like the statements inside the case statement.
Sure, the recipes are all different. Sometimes there are special instructions that check outside variables- is the hamburger rare or well done? Should the milkshake be extra thick or maybe have chocolate syrup? But that’s just like the code inside of real case statements, they’ll all be at least a little different.
Break Commands
Break commands tell the robot that it can stop executing code inside of the switch statement. When the robot gets to a break; command it will automatically hop to the very end of the switch statement. If you don’t have a break command the robot will just keep executing whatever code comes next, even if it’s in a different case statement!
You can think of the break command like telling the robot that after it finishes making the meal it can stop cooking. Otherwise the robot will just go to the next meal on the list (even though no one order it!) and cook that one too!
Default Statements
You always need a default statement in your switch statements. It’s a way to say to the robot- didn’t see anything that matched the parameter? Well, do the following code instead then.
You can think of the default statement as a set of instructions that tell the robot- if what the person ordered isn’t on the menu, just go ahead and make nachos. Everybody likes nachos.
Try it with Sparki
A good example of code that uses switches is the remote control receiver. The remote control gives it a code, which Sparki can then use to make decisions. This code uses the bottom 3 buttons of the remote to change the RGB LED color.
#include <Sparki.h>

void setup()
{
}

void loop()
{
  int code = sparki.readIR(); // look for a remote control code

  switch(code){

  case 66:
      sparki.RGB(RGB_RED); // make RGB LED Red
      break;
  case 82:
      sparki.RGB(RGB_GREEN); // make RGB LED Green
      break;
  case 74:
      sparki.RGB(RGB_BLUE); // make RGB LED Blue
      break;
  default:
      break;
  }
}
Recap of What We’ve Covered So Far
or
Next Step:
Now that you understand switch statements we’ll move on to the incredibly important for loop.


