Connecting your ArcBotics Bluetooth Module – Windows 7
This tutorial will help you add the ArcBotics serial Bluetooth module to a Windows 7 computer.
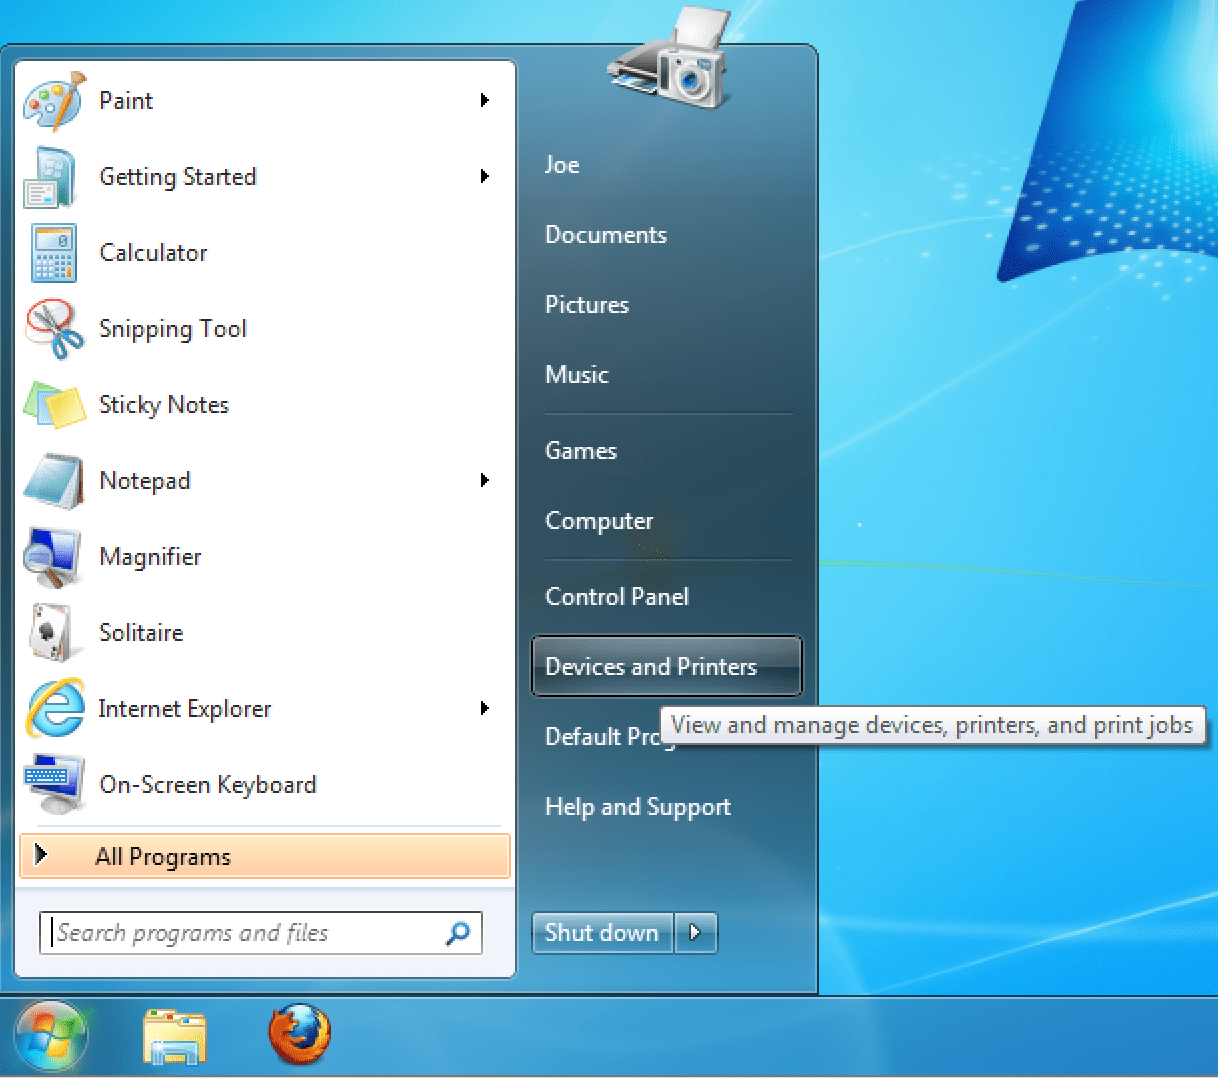
Now on the computer, go to the start menu, and then click on Devices and Printers:
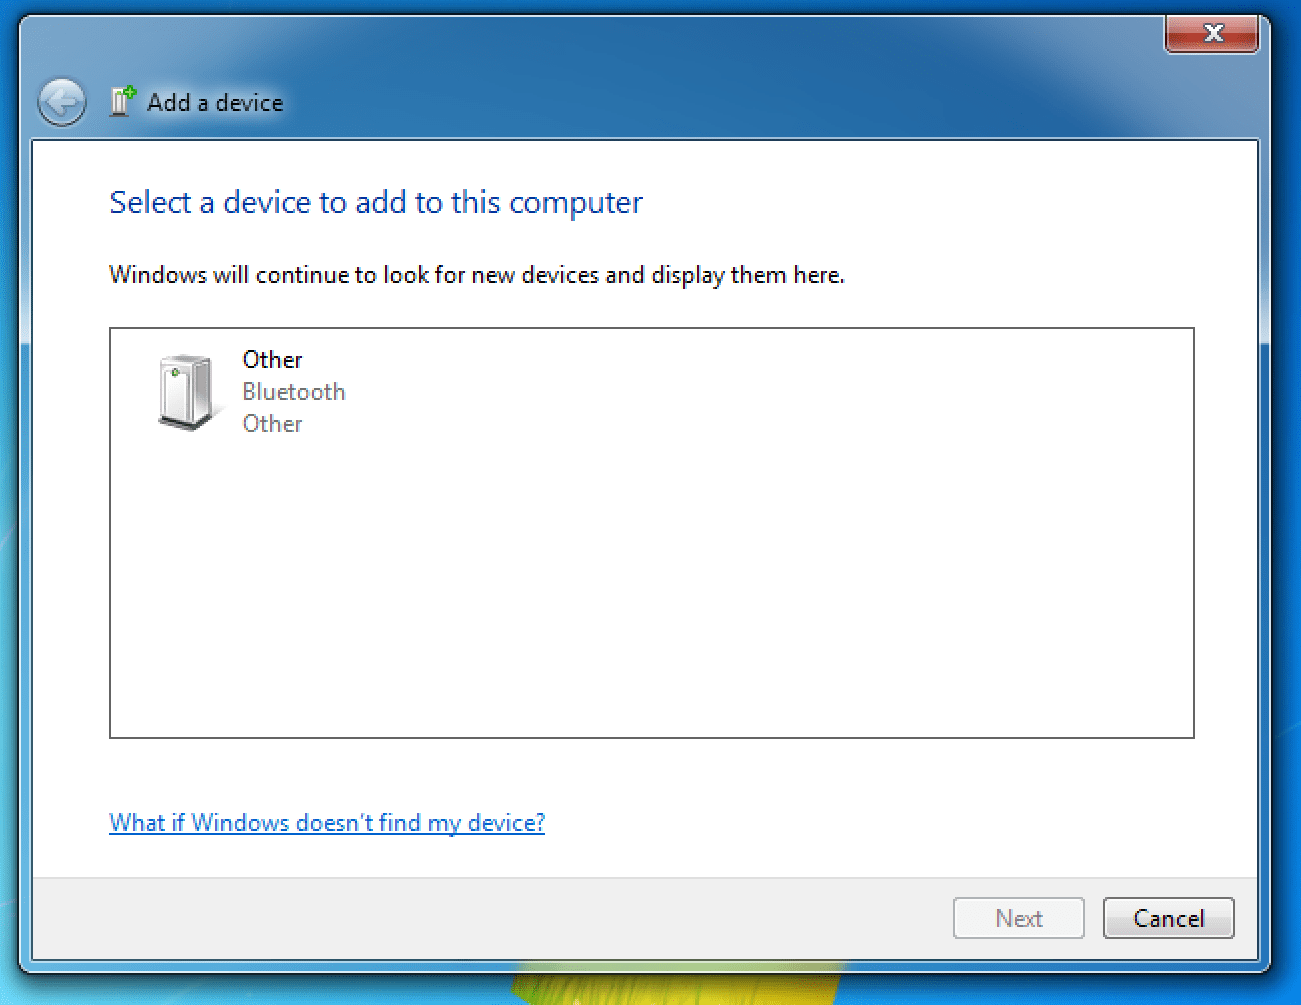
From the new window that opens, click “Add a Device”:

If you have a bluetooth receiver installed on your computer, and the robot’s Bluetooth module is on and flashing, you
should see the device pop up now. Depending on how long your computer has seen the device, and if your computer has already
talked to it, you will see one of these devices:
When your computer first sees the Bluetooth module:
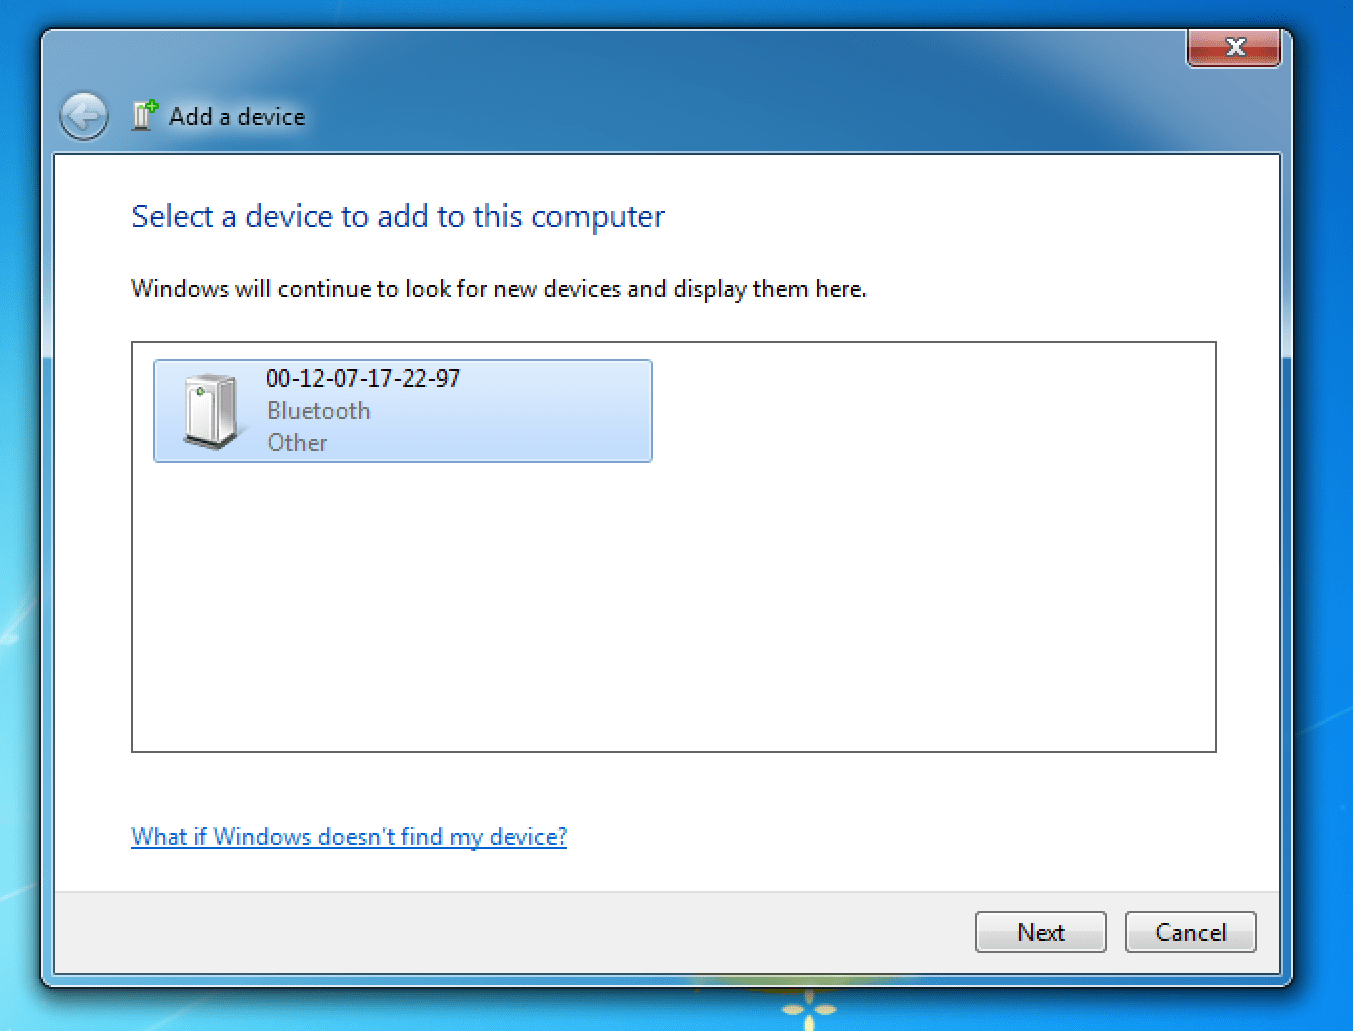
After your computer starts to identify the Bluetooth module (these characters will be in a similar pattern, but
different for your device):
And finally it will recognize its broadcasting name ‘ArcBotics’:

Once you see the device, select it and click next. You will then see this page:
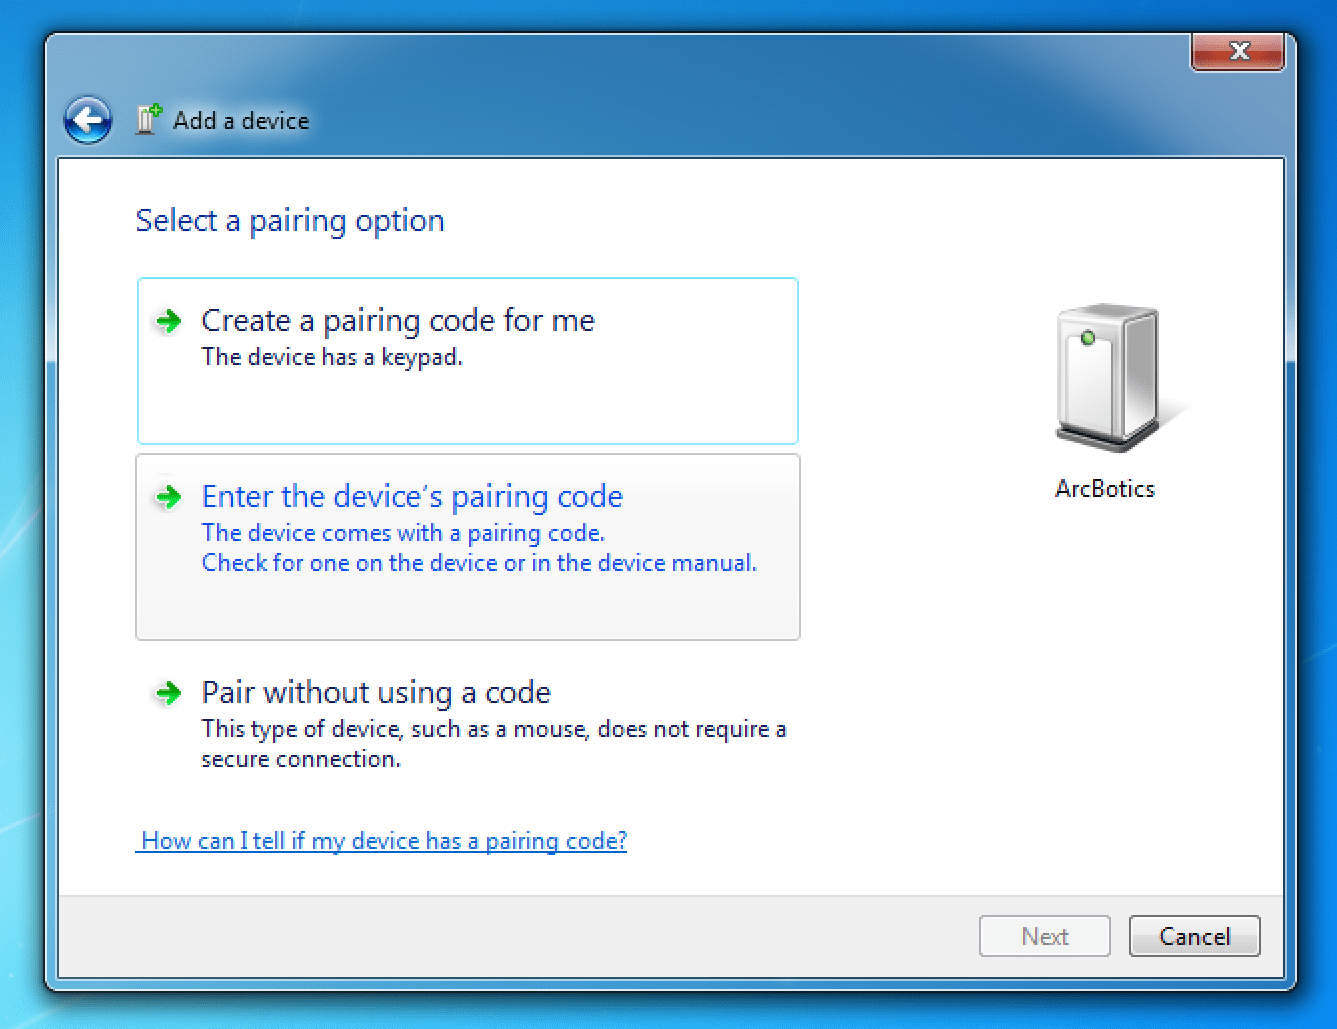
Select ‘Enter the device’s pairing code’ and then click “Next.” Another screen for entering the device’s
pin number will appear. Enter the pin- ‘0000’ as shown in the image below:
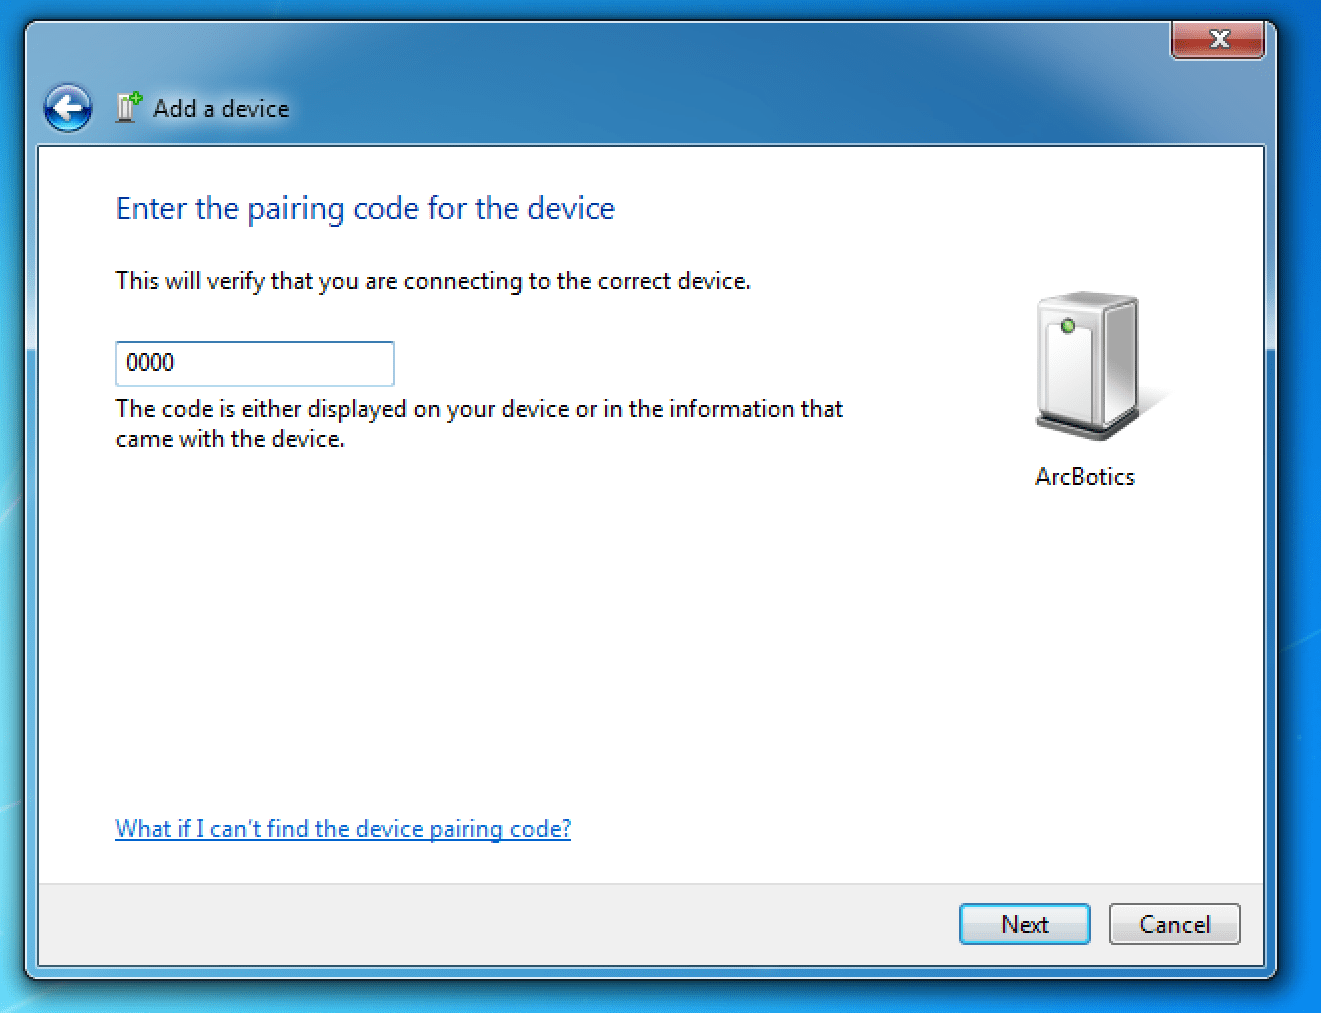
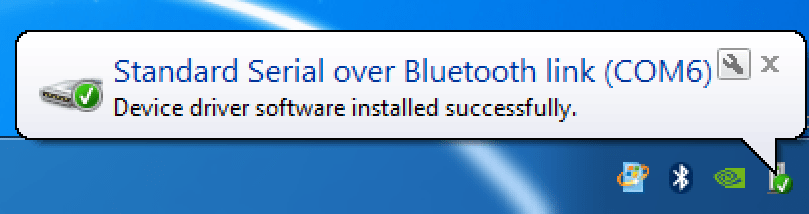
Click next once you’ve entered the pairing code. Windows will then install the devices for the module. Windows should
automatically find and install these drivers for you:
Then you will see the device installed screen:
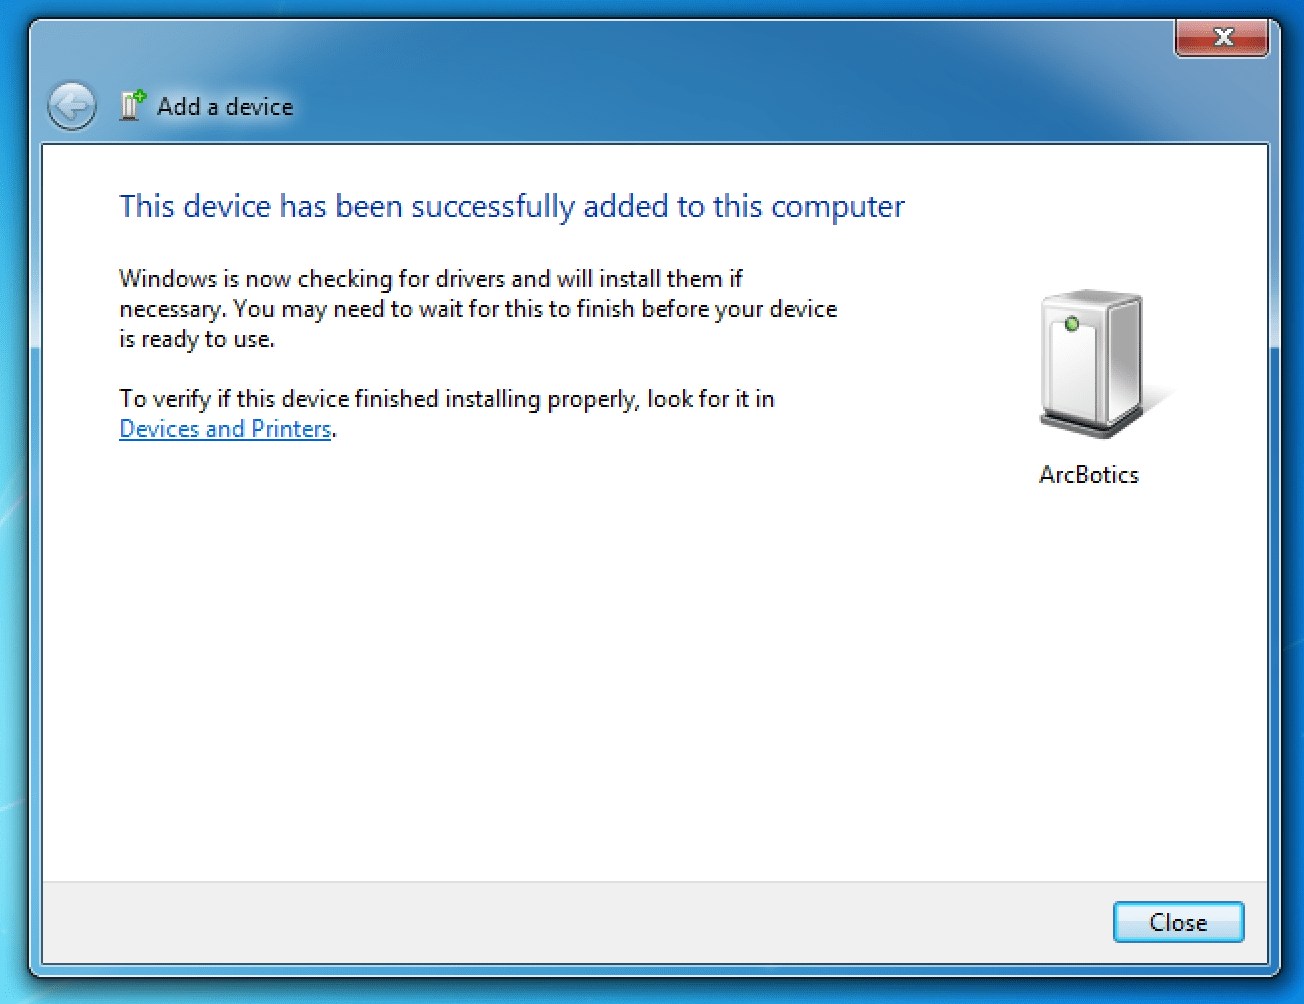
Success! Your module is now installed. If you’re using it with a Servotor32 board, you can now unplug the USB cable
and use it wirelessly. It is advised that you use a second battery pack plugged into the logic port if you are using a
heavy load (like running a Hexy). Otherwise, you can experience voltage dips as explained
here that will reset the board and the bluetooth
connection.
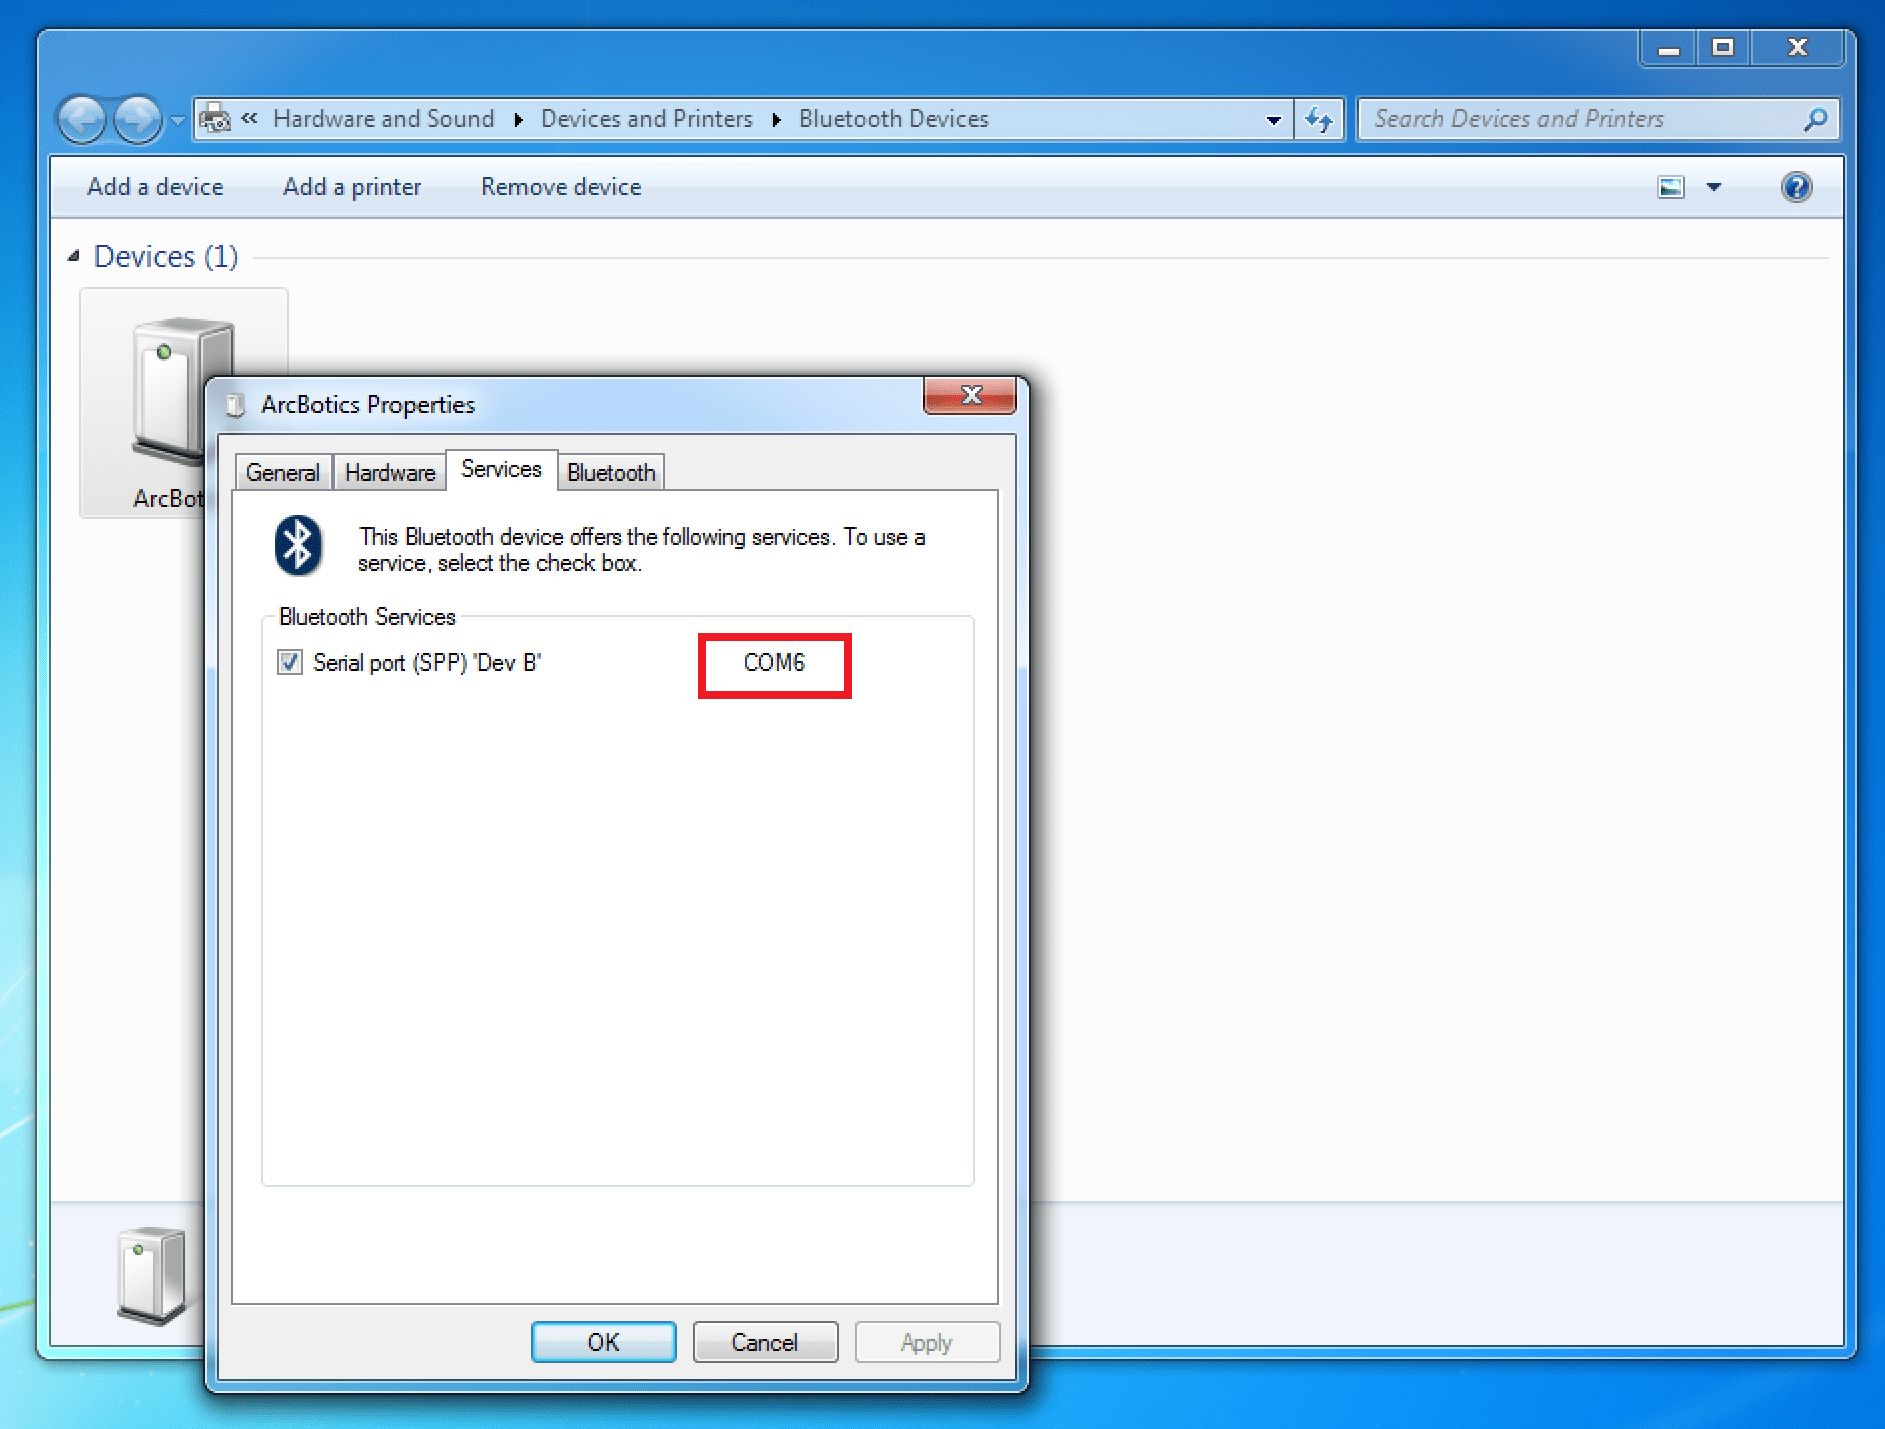
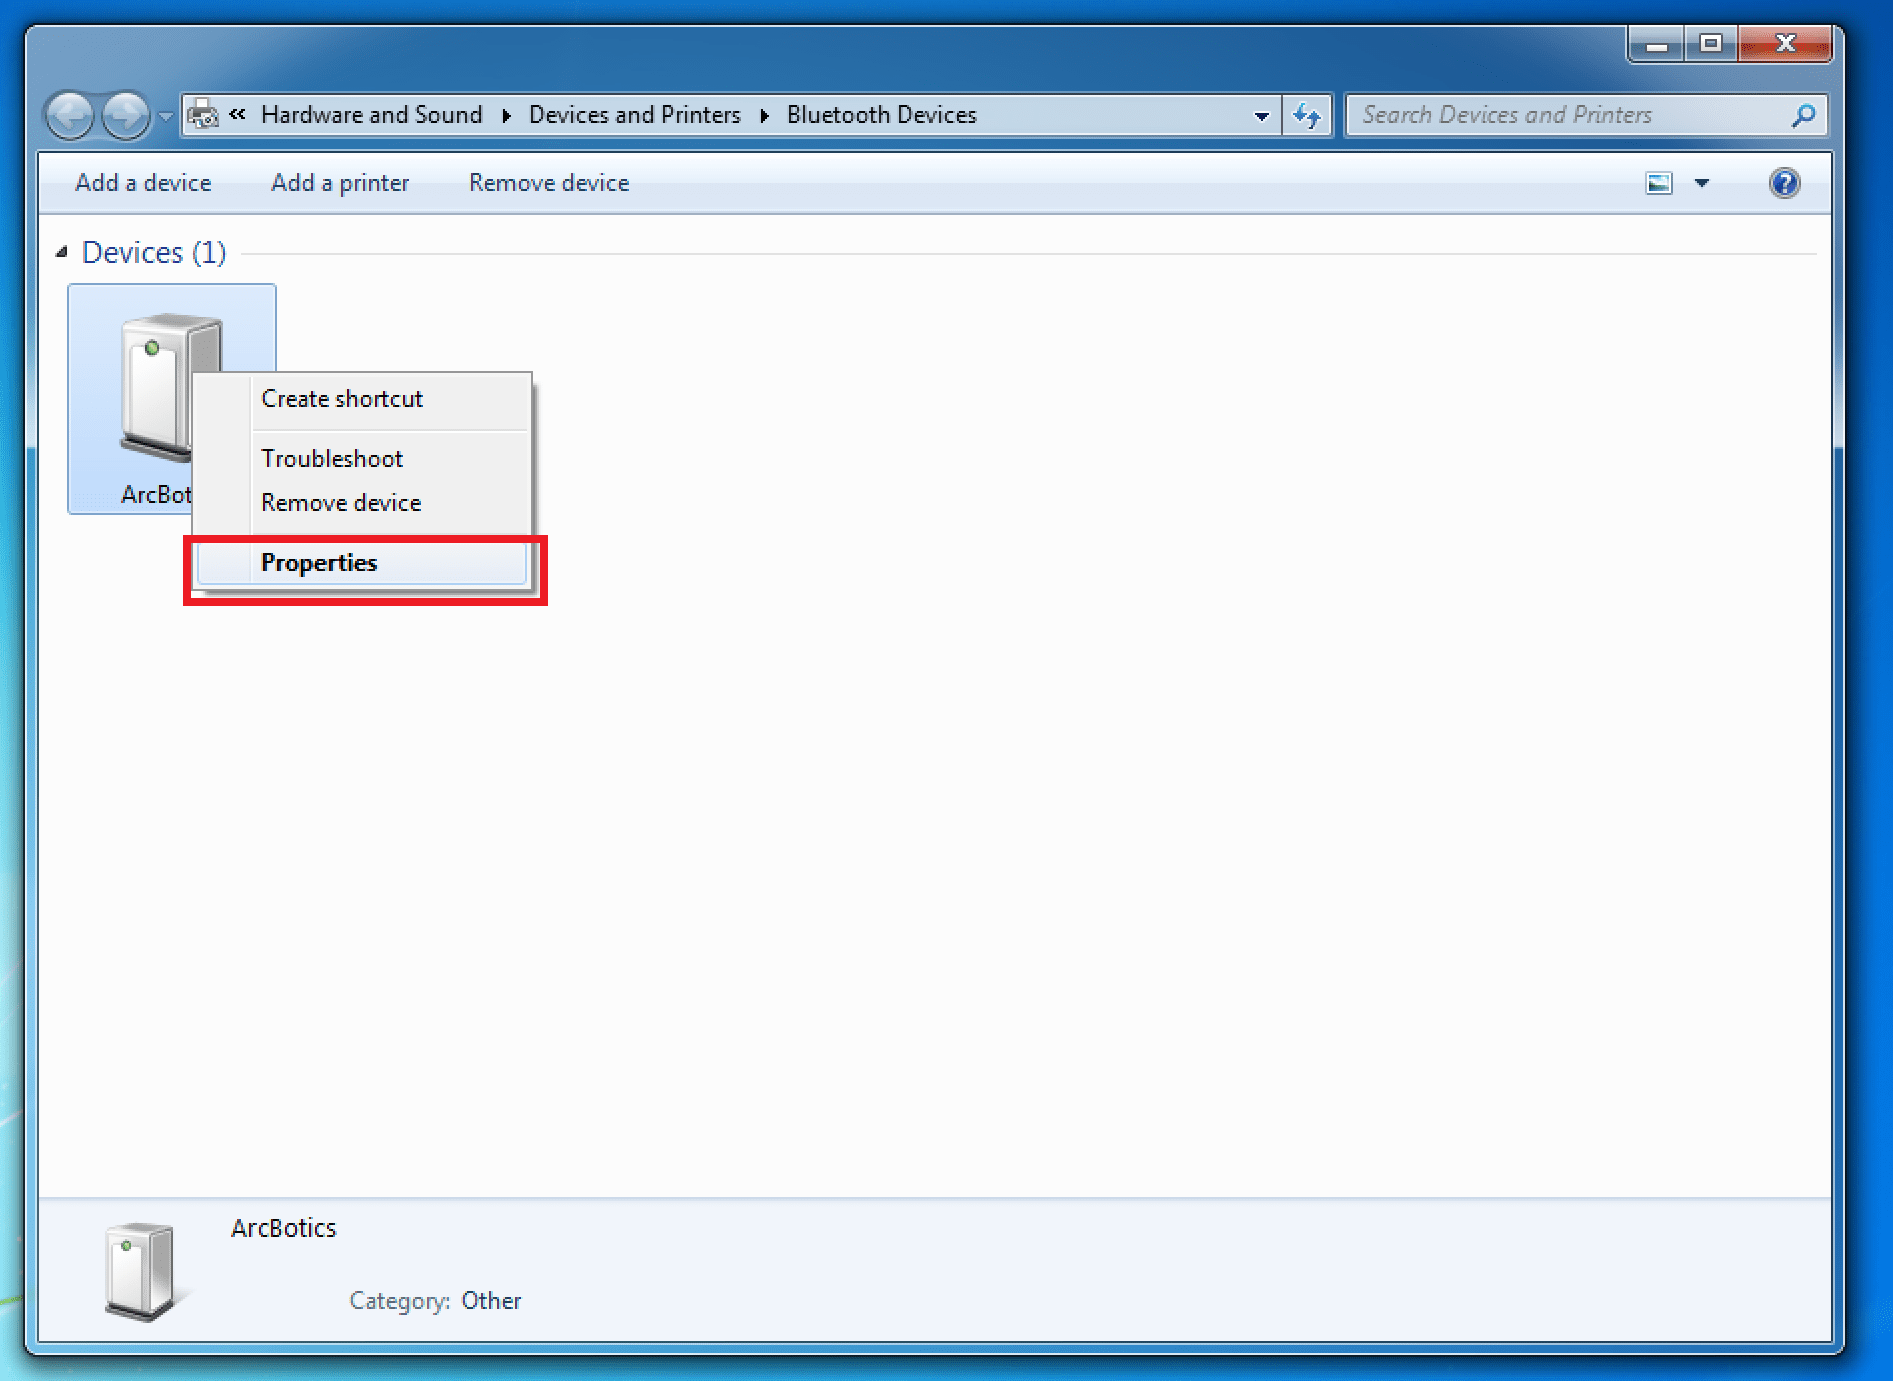
If you want to find out what COM port the device is now on (useful for connecting to it with a terminal), then you can
go back to the Devices and Printers window:

Right-click on the device, then select “Properties”:
You should now be able to see the com port under the “Services” menu. In this case, the port is COM6: