


Sparki Bluetooth Module
How to install and use Sparki's Bluetooth Module
Lessons You Should Know

Introduction
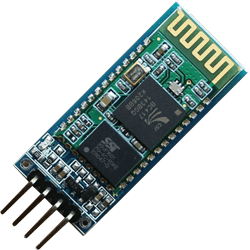
Some Sparkis come with a Bluetooth Module. It is used to communicate wirelessly with your Sparki. While you cannot use it to program Sparki, it is useful for communicating with Sparki via serial commands wirelessly.
Using the Part
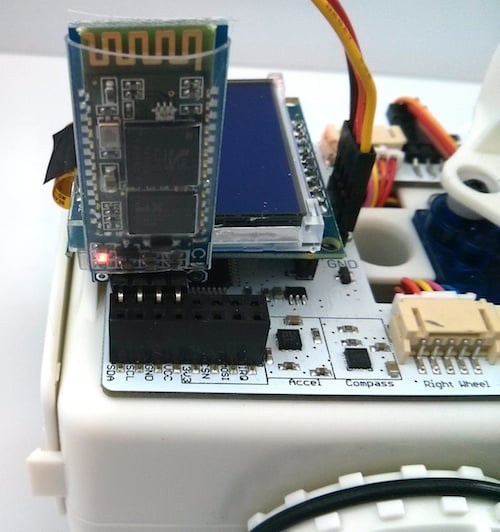
The Bluetooth Module is inserted into Sparki’s expansion port pins. When plugged in, the module should light up and blink. The pins you will plug the Bluetooth Module into on Sparki are named TX, RX, GND and VCC. The Bluetooth Module may be a tight fit next to the LCD, that’s ok, as long as the Bluetooth Module is plugged into the correct pins it will function properly, even if it’s pushed up against the LCD screen.
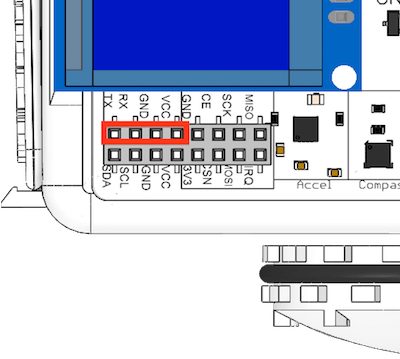
The Bluetooth Communication Pins
Here’s a quick explanation of the pins on Sparki that you will plug the Bluetooth Module into:
- TX– This is the pin that Sparki uses to transmit information out of Sparki and to the Bluetooth for transmitting. Because the Bluetooth is receiving information from Sparki on Sparki’s TX pin the RX Bluetooth pin plugs into this pin.
- RX– This is the pin that Sparki uses to receive information from the Bluetooth. For that reason the TX Bluetooth pin plugs into this pin.
- GND– This supplies a ground path for the electricity to travel back from the Bluetooth module to Sparki.
- VCC– This supplies the source of electricity for the Bluetooth Module from Sparki.
Once the module is blinking, you can connect it to your computer:
You’ll need to pair your Bluetooth Module at least once every time you use Sparki with a new computer or device, but after that the computer or device will probably remember about Sparki’s Bluetooth Module unless something happens to your computer or device Bluetooth preferences or files.
After you connect your Bluetooth Module it might go from displaying on your computer or device as a bunch of numbers and some dashes to being called “ArcBotics.”
Now, with the module connected with your computer, you can access it as a serial port. To find the serial port select Tools, go down to Serial Port and look at the options you have to select. There should be one or two new serial ports that you can select. The serial port is most likely called something like “ArcBotics-DevB.”
You can access the serial terminal in Arduino by pressing the upper right-hand corner in the Arduino software:

The serial terminal will allow you to send information to Sparki and see anything that Sparki is broadcasting over the Bluetooth Module. If Sparki has commands that tell it what to do with the information you send it, you can even control Sparki’s output with this serial monitor. Pretty cool, huh?
Previously you’ve used serial communication to upload code onto Sparki over the USB serial port. Now that you’ve moved on to exploring the Bluetooth Module you’ll be getting comfortable with serial ports since the Bluetooth Module also uses a serial port.
Programming With This Part
Sparki has two serial ports:
1. The USB serial port, which is accessed in the code you load onto Sparki via Serial.
2. The port the bluetooth module plugs into is usable via Serial1 in the code you will load onto Sparki. To use the bluetooth module to communicate instead of the USB port, change any commands that use Serial to use Serial1 instead.
You can read more about programming with this part in this lesson.