Uploading Code with miniBloq
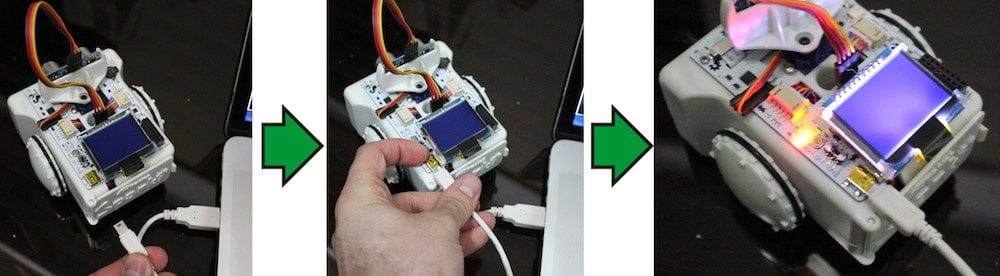
Plug in Sparki
Plug in Sparki via USB. The status light should pulse red. Wait for this to stop.
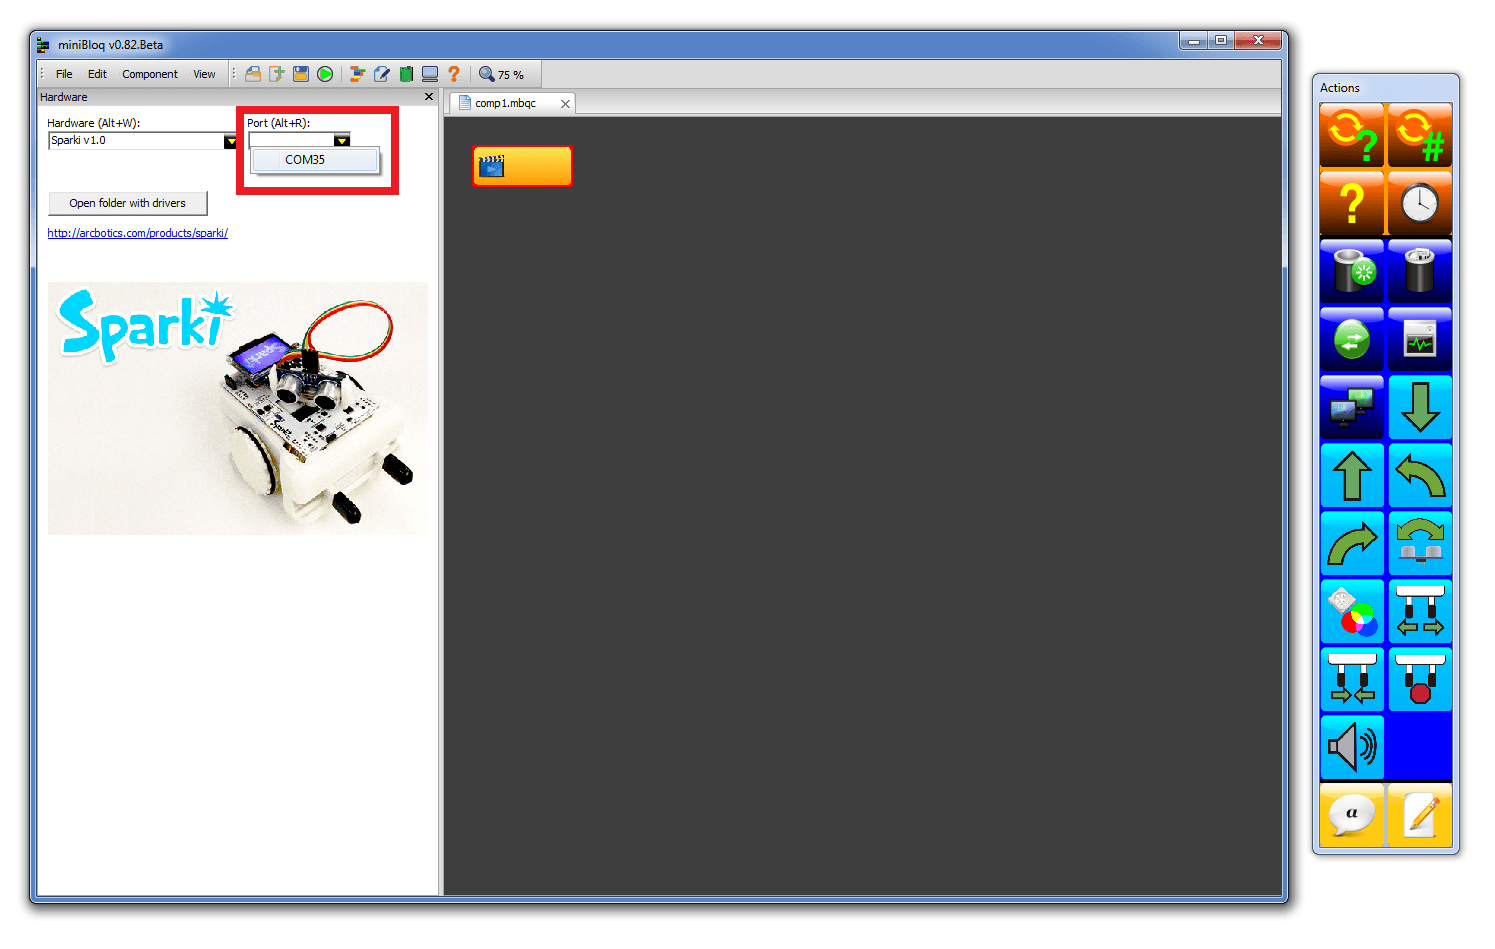
Choose the Board and Serial Port
Select the ArcBotics Sparki as the Hardware, and choose your Sparki’s Port from the drop-down list:
Common Questions:
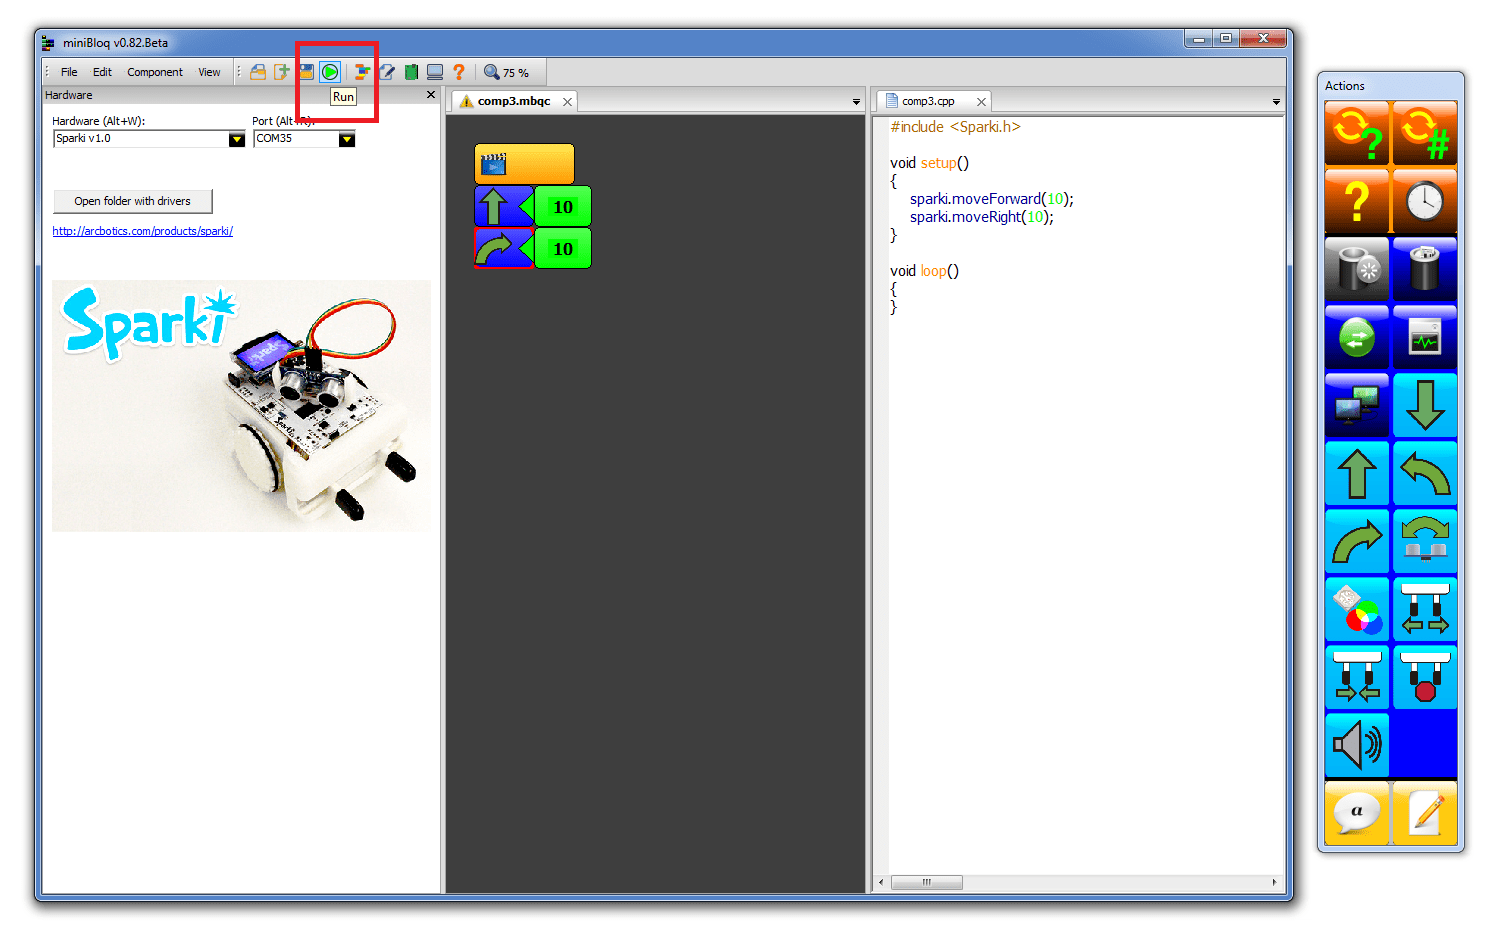
Create Code to Upload
Create some code to upload to Sparki. Here we’ve dragged some blocks from the right hand panel of blocks that will cause Sparki to move forward 10 centimeters, then rotate right 10 degrees:

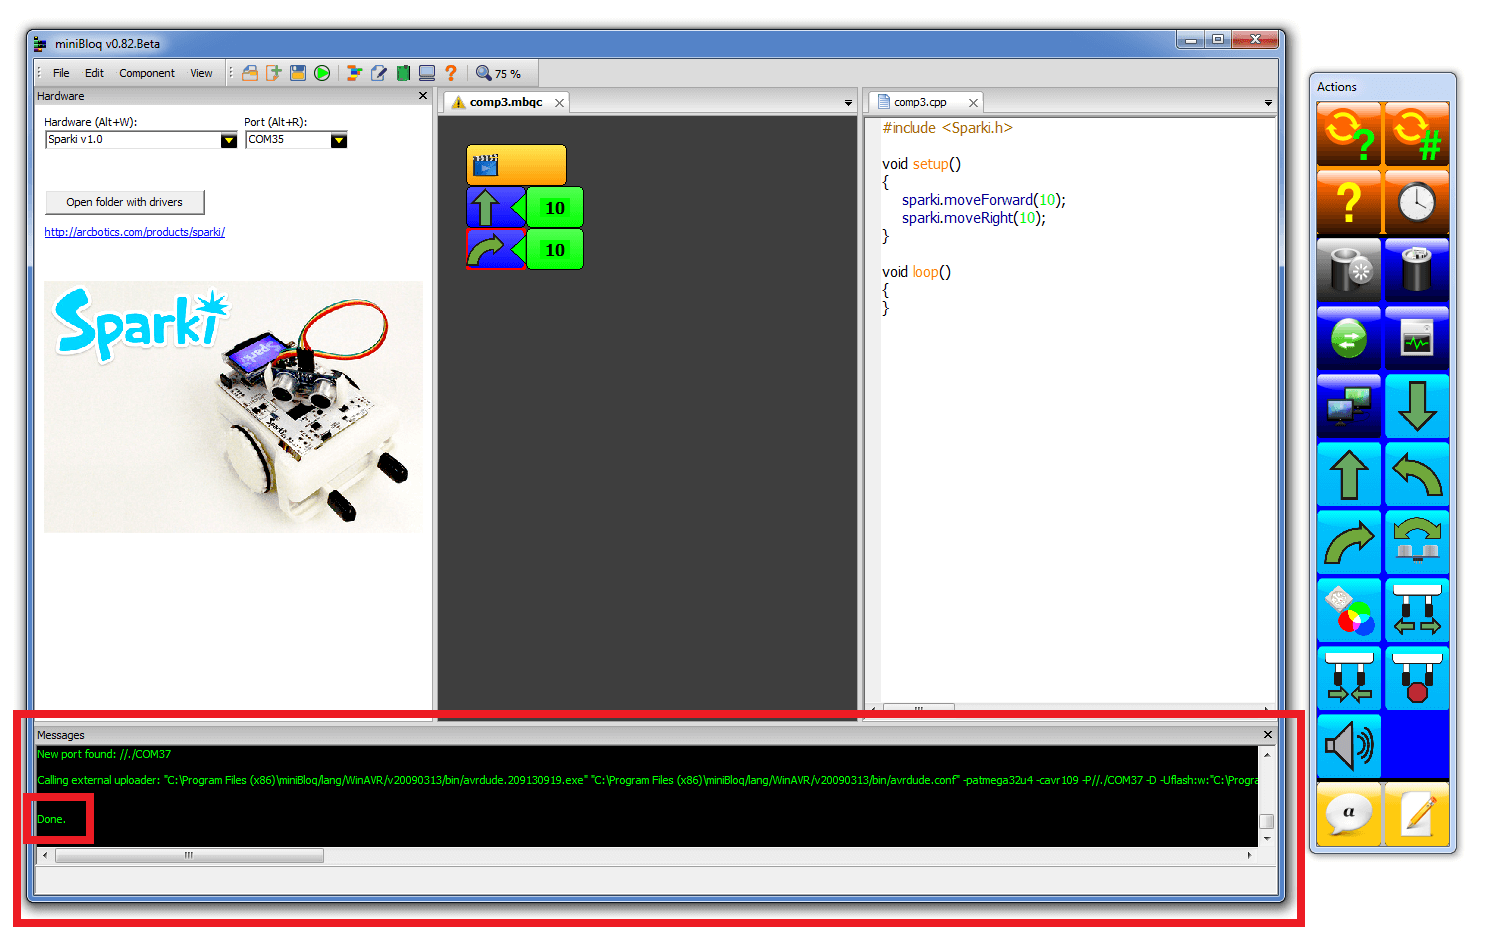
Upload the Code
Press the “Run” button. This will compile the code, then the code will upload to Sparki. The upload status will be shown in the text box that pops up at the bottom. When it has been succesfully uploaded, the text at the bottom will say “Done”.