

Repairing Hexy Servo Gears
Sometimes with all the wear and tear of use (especially if you have 19 of them working in a robot…), servo gears need to be replaced. It’s a much cheaper alternative to buying a new servo. Here’s how to do it!
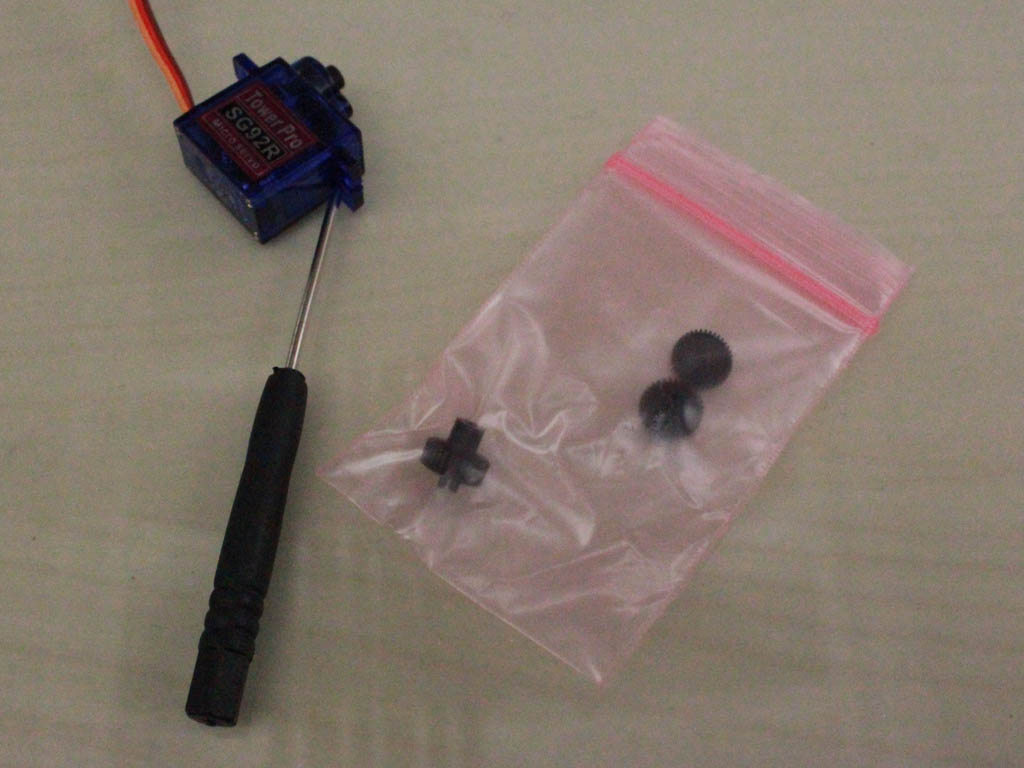
- You’ll need:
- A fine Phillips-head screwdriver
- Replacement gears
- Broken servo
Each servo uses 4 gears, and we include in each Hexy kit 4 gears for 10 sets (40 gears total). It’s likely you’ll only end up replacing one of them. The gears may be all black, or only half black, half white.
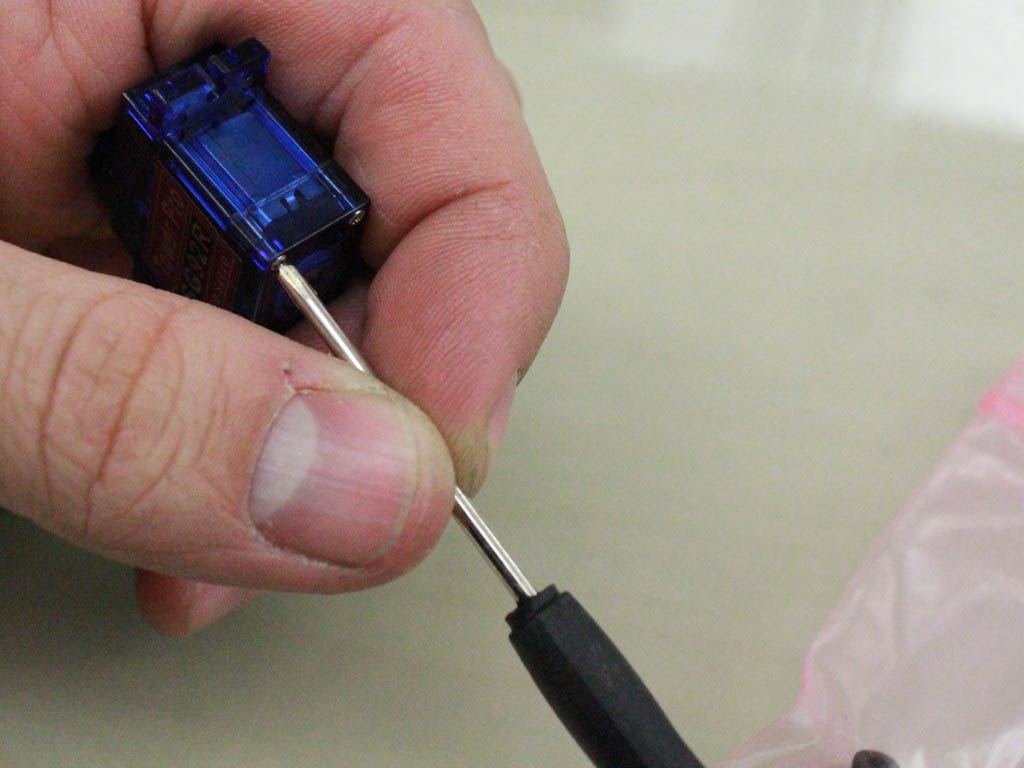
Start by unscrewing the screws at the base of the servo. You can use the screwdriver that was included with Hexy.
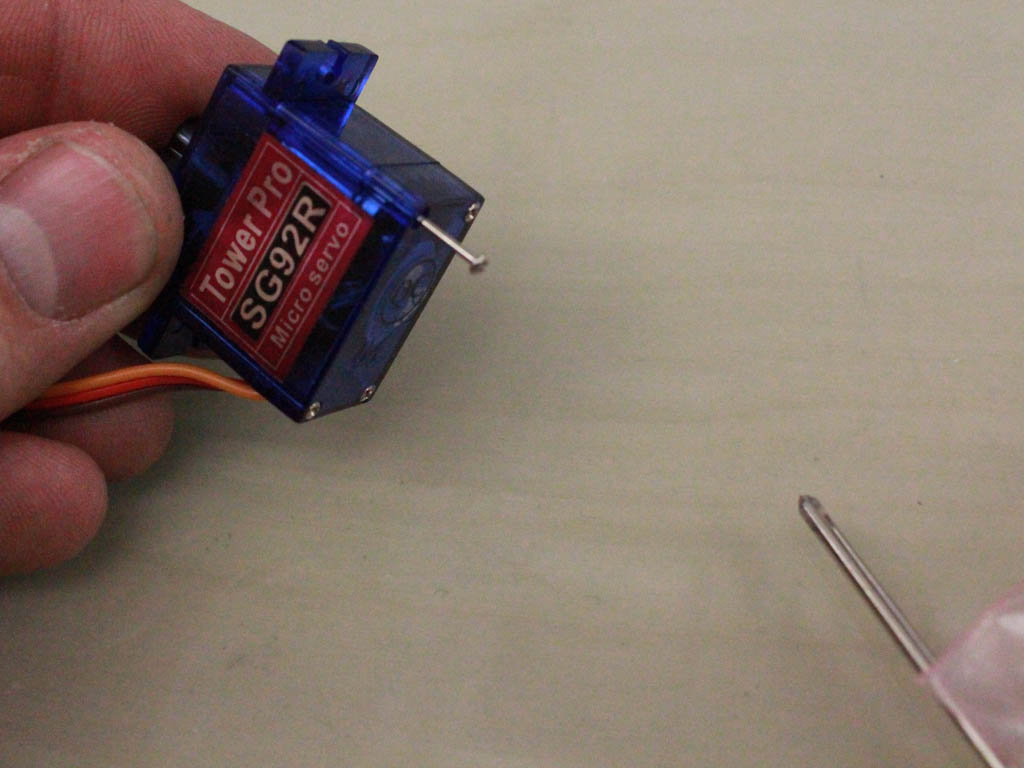
The scews are fairly long, and once unscrewed, will need to be pulled out by hand.
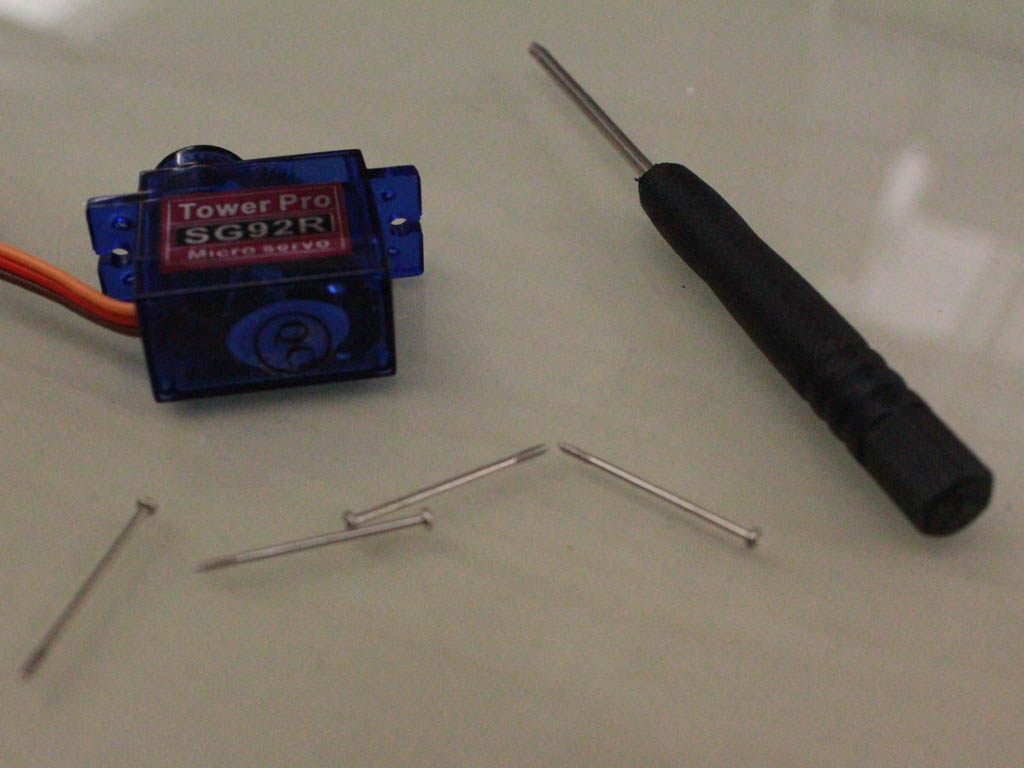
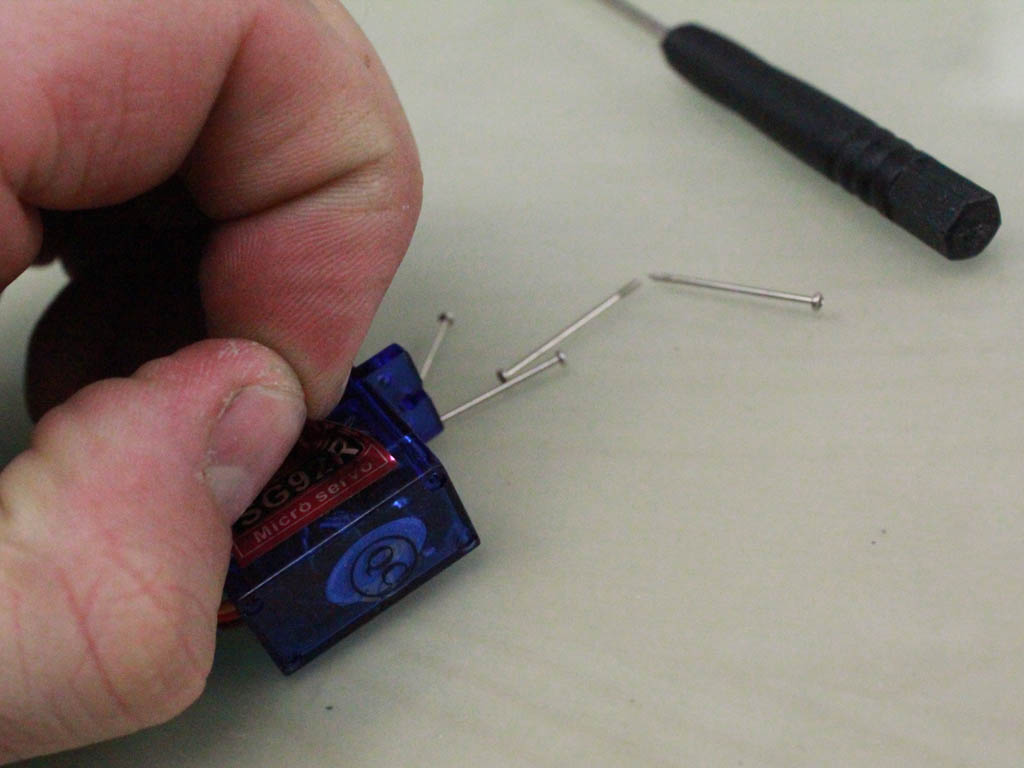
If there are any stickers on the side of the servo, make sure to remove them.
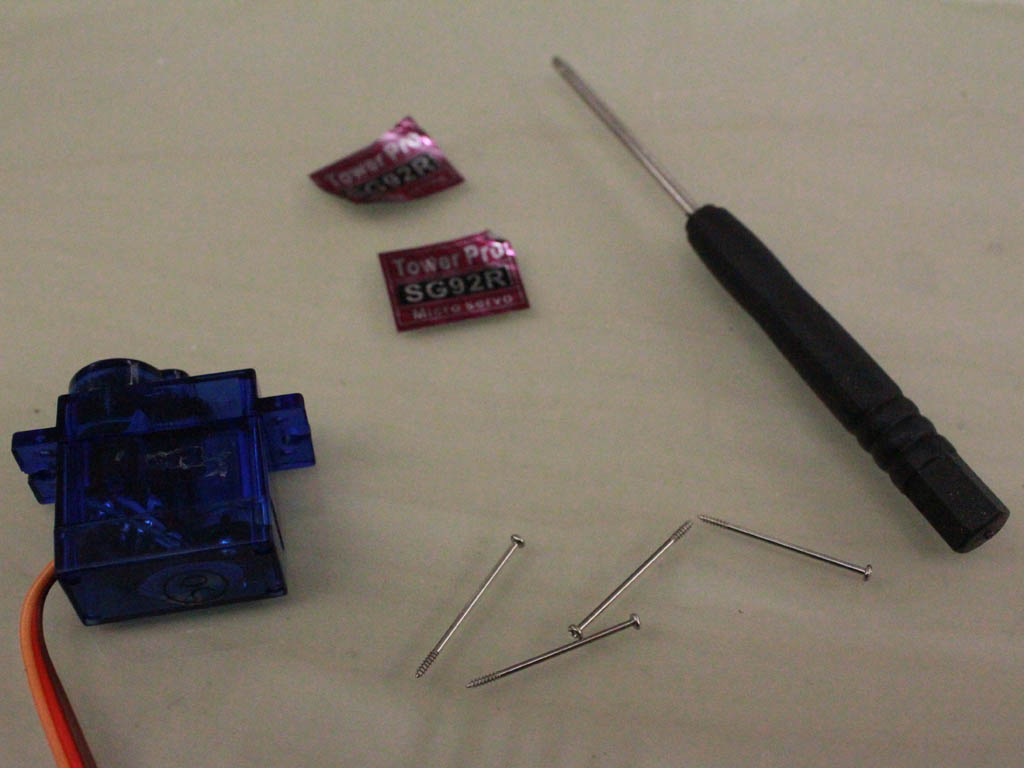
Remmove the top plastic blue plastic piece on the servo. This will expose the gears.
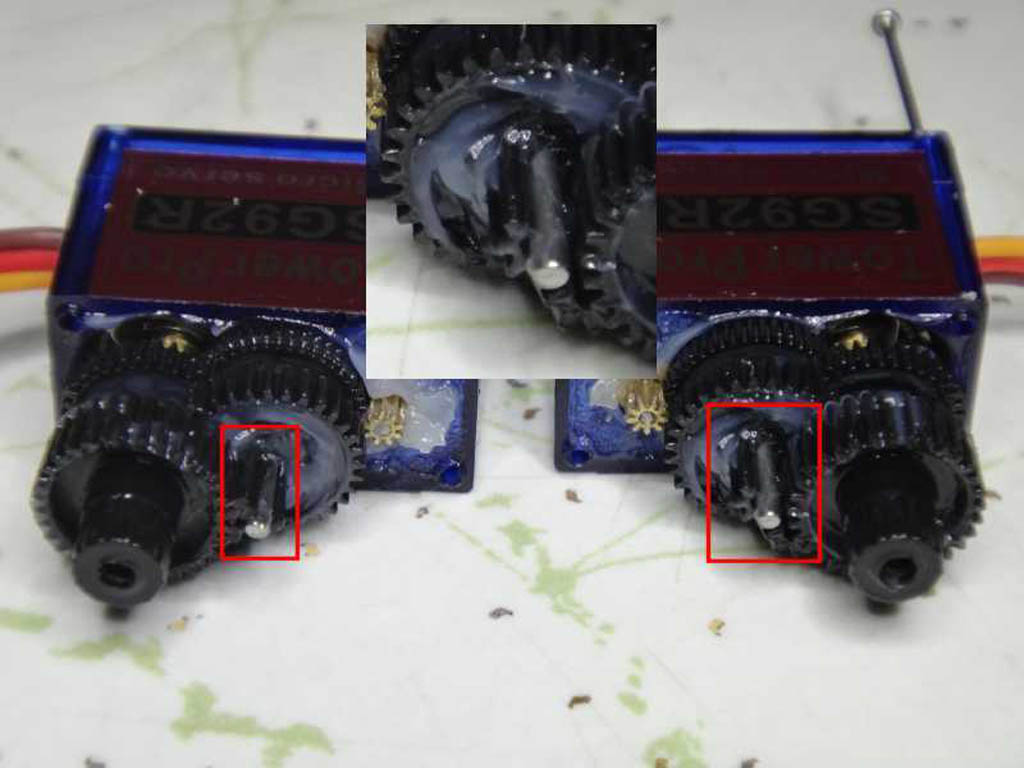
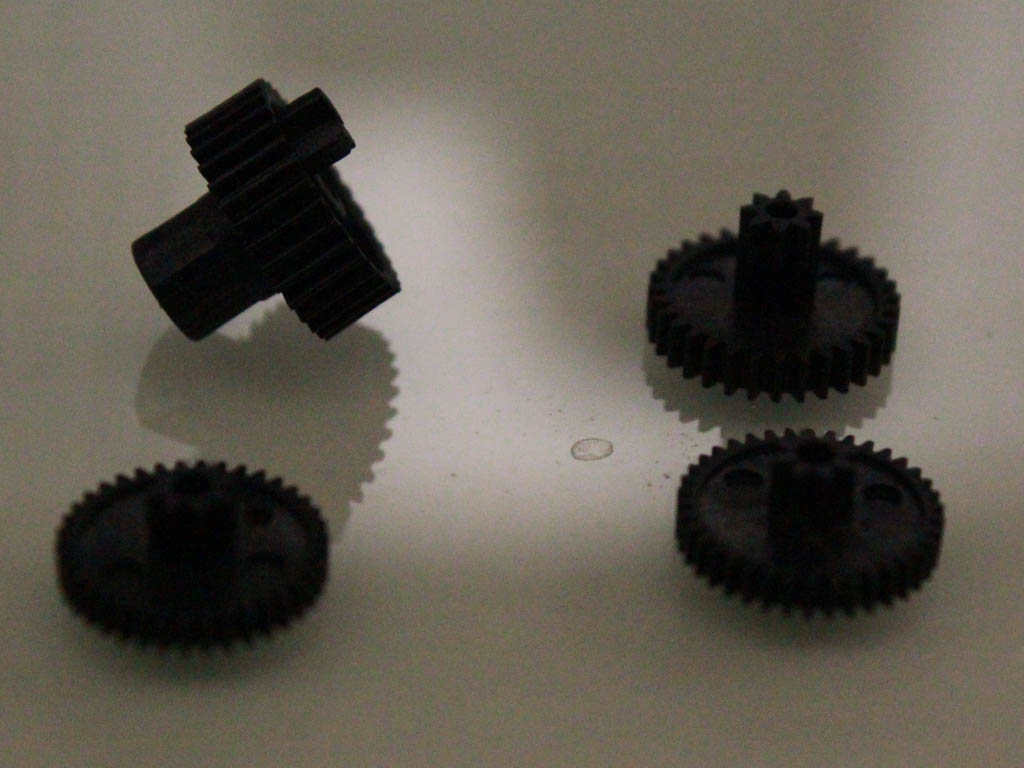
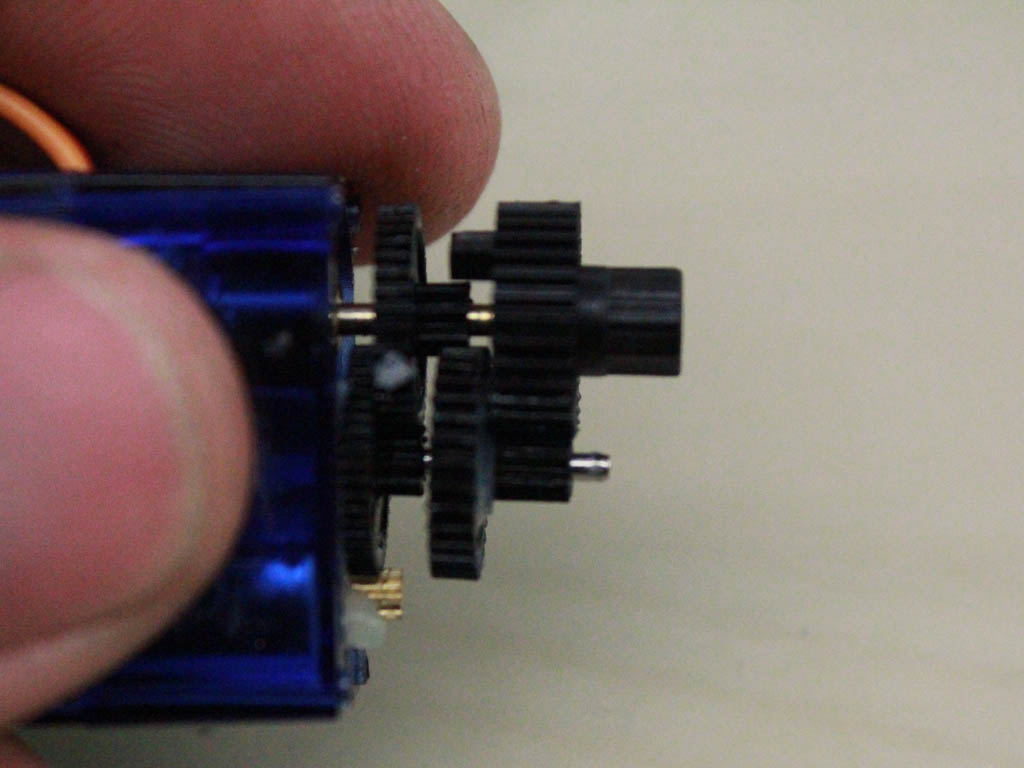
Of the gears on Hexy, this one is the most fragile and experiences the greatest forces, and the one most likely to break. You can see in the picture below of a failed servo that one of the teeth chipped off under pressure.
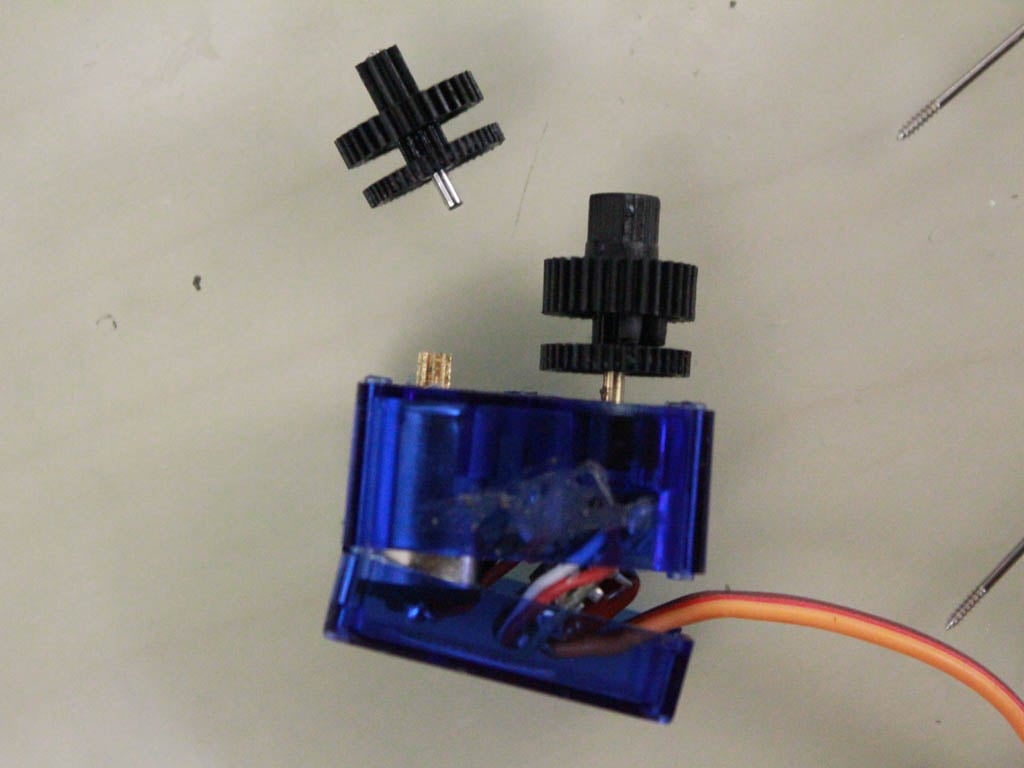
Remove the appropriate bundle of gears – you will be able to wiggle them out and the rod that connects them from the hole the rod sits in in the plastic.

Replace the appropriate gear with a replacement from the replacement gears bag.
Now that the gear has been replaced, reverse the above steps to re-assemble the servo. You servo should work like new again!