Installing miniBloq
Download the miniBloq Installer
Run the Installer and Agree to Install
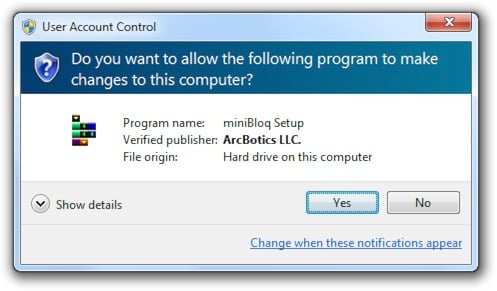
Double-click on the installer file that is downloaded:
![]()
Agree to run the installer, giving it permission to install:
Follow the Installer’s Directions
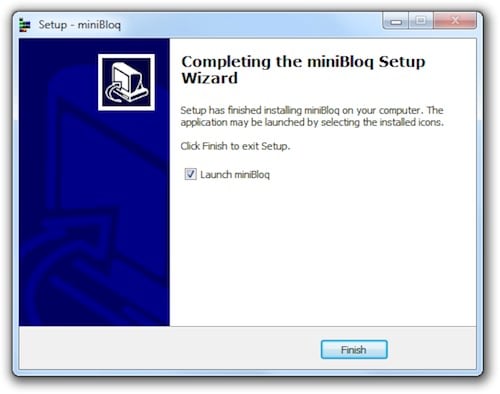
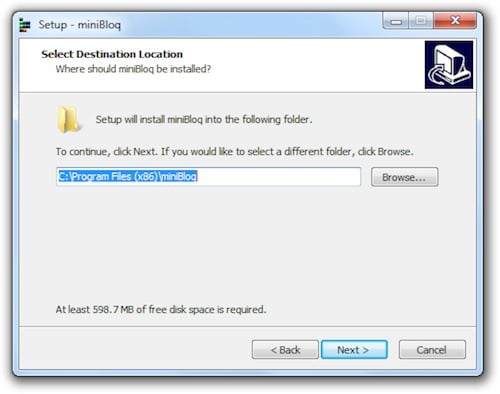
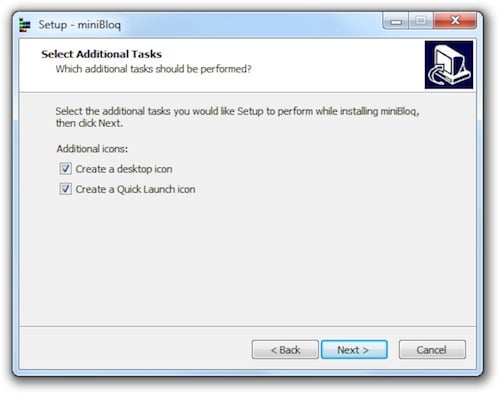
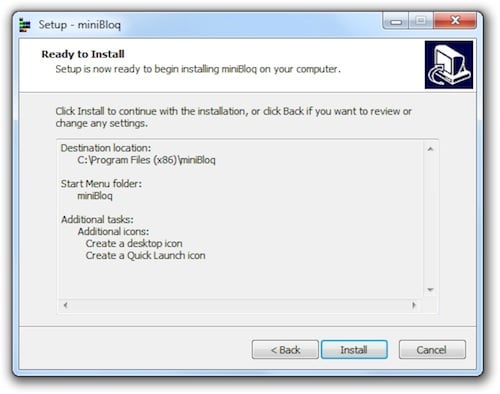
The installer will ask you a series of instructions. If you’re not sure what to select, just keep clicking next until you see the “Ready to Install” box, then click Install. The installer will install miniBloq.


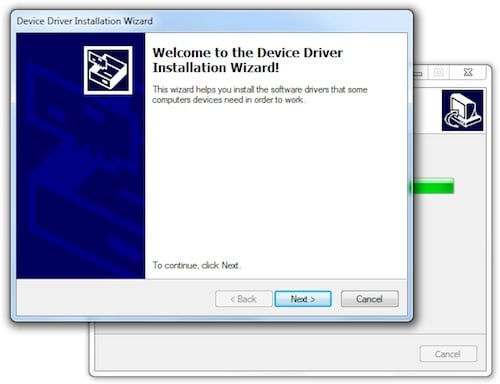
Install the Drivers
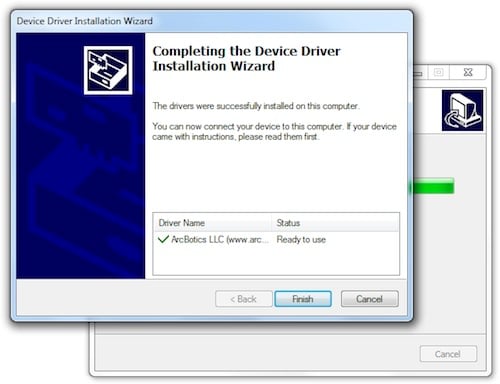
The installer will then install the drivers required to use Sparki. Click next, and the drivers will be installed. This step may take a couple minutes as the drivers are being installed. You should see green checkmarks next to the ArcBotics LLC. driver once it is installed. Click Finish.